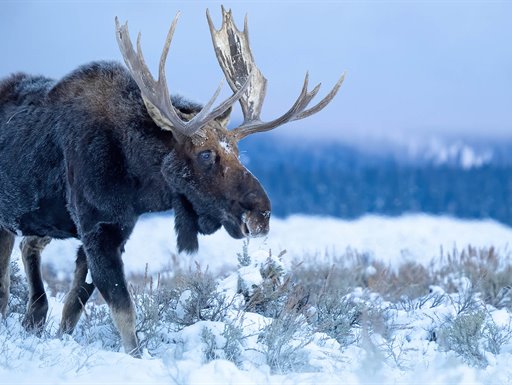
Here you will find an ever increasing range of articles covering technique and tips on using our cameras and lenses.
Africa, in so many ways, is a wildlife photographers dream. A good friend once told us that visiting it for the first time will get you "poisoned". And the only real antidote is to come back. And after getting to experience it for the first time, we must agree.
In August of 2021 we got a chance to thoroughly test this thesis, since we got the pleasure of spending 20 days on a safari in Kenya. This gave us the possibility to challenge our own photographic skills and try out our Olympus camera gear in challenging and very diverse environments.
We invite you to travel with us through the images obtained on our journey from unforgettable sunrises to mythical sunsets with their unique lights. And obviously, many majestic animals. We will walk with the big herds of herbivores and show you one of the greatest spectacles of nature, the crossing of the Mara River; we will crouch down with the big cats and show you their wildest side and their most tender moments.
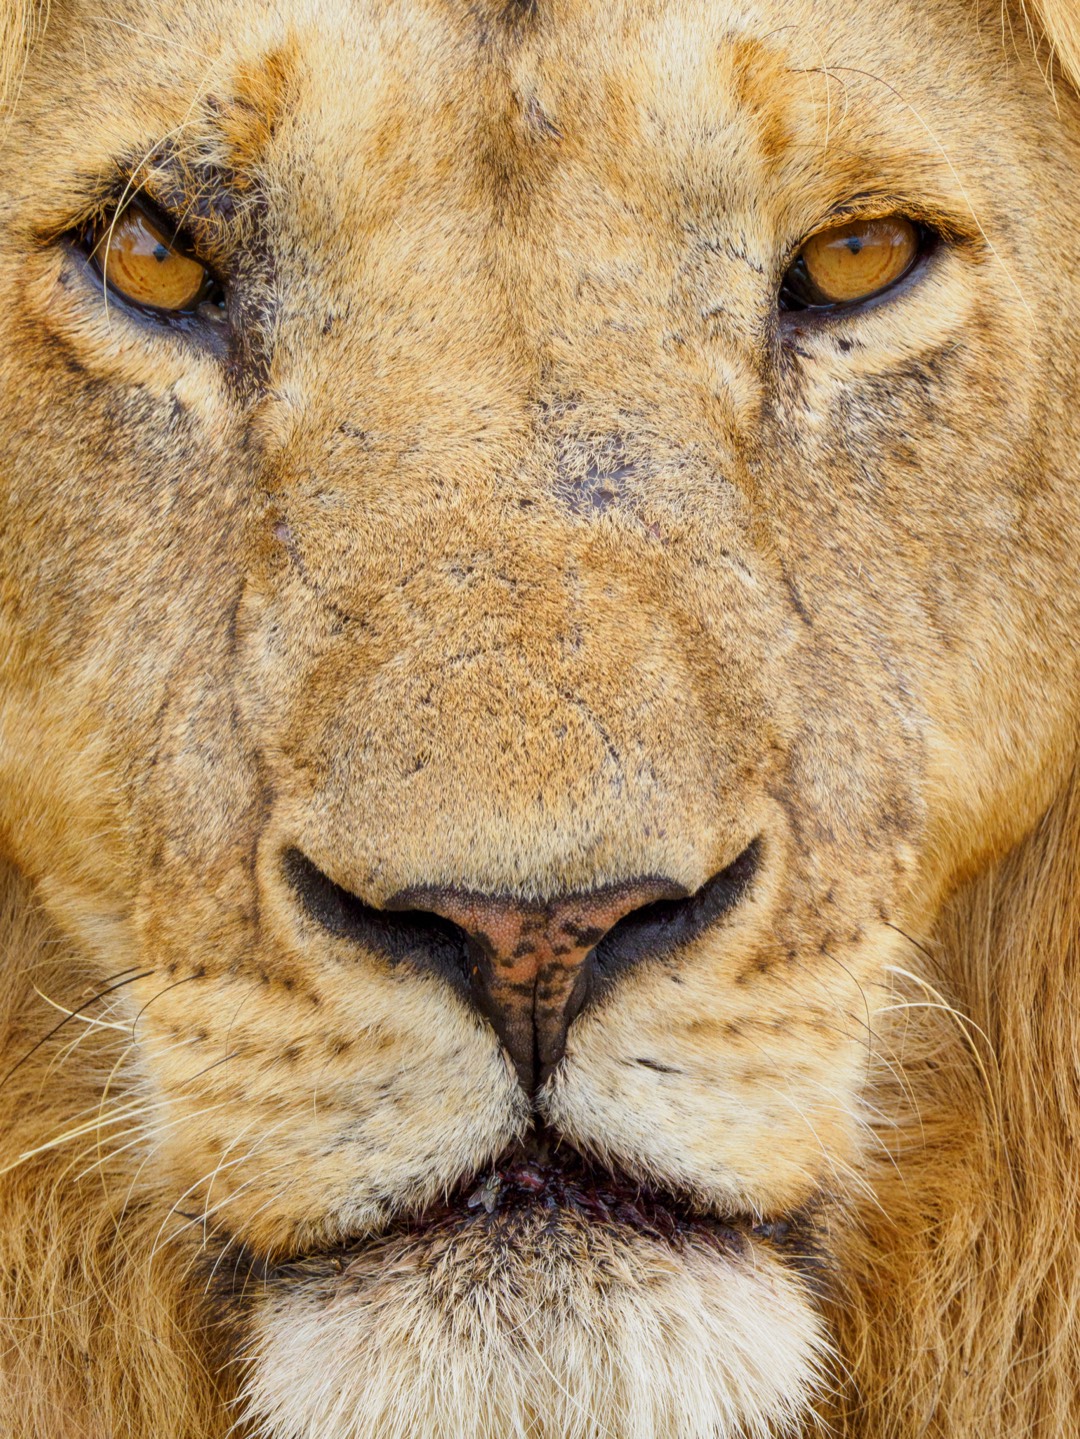
Welcome to the Mara river
Our journey took us to the upstream of the magnificent Mara river, which is formed from the water of four rivers in south Kenya. The actual Mara starts near the southern border and flow over to Tanzania, where it goes through the northern parts of the vast Serengeti national park before draining into lake Victoria. The part of the river on the Kenyan side is known as the Masai Mara segment. This was our destination.
Even if you think you haven't heard of the Mara river or the Masai Mara area, you most probably have seen it in dozens documentaries, since they are famous around the world for their legendary wildebeest crossing, where millions of antelopes also known as gnu migrate over the river to enjoy their summer feast in the green fields of Serengeti. The migration back to Masai Mara happens between July and September.
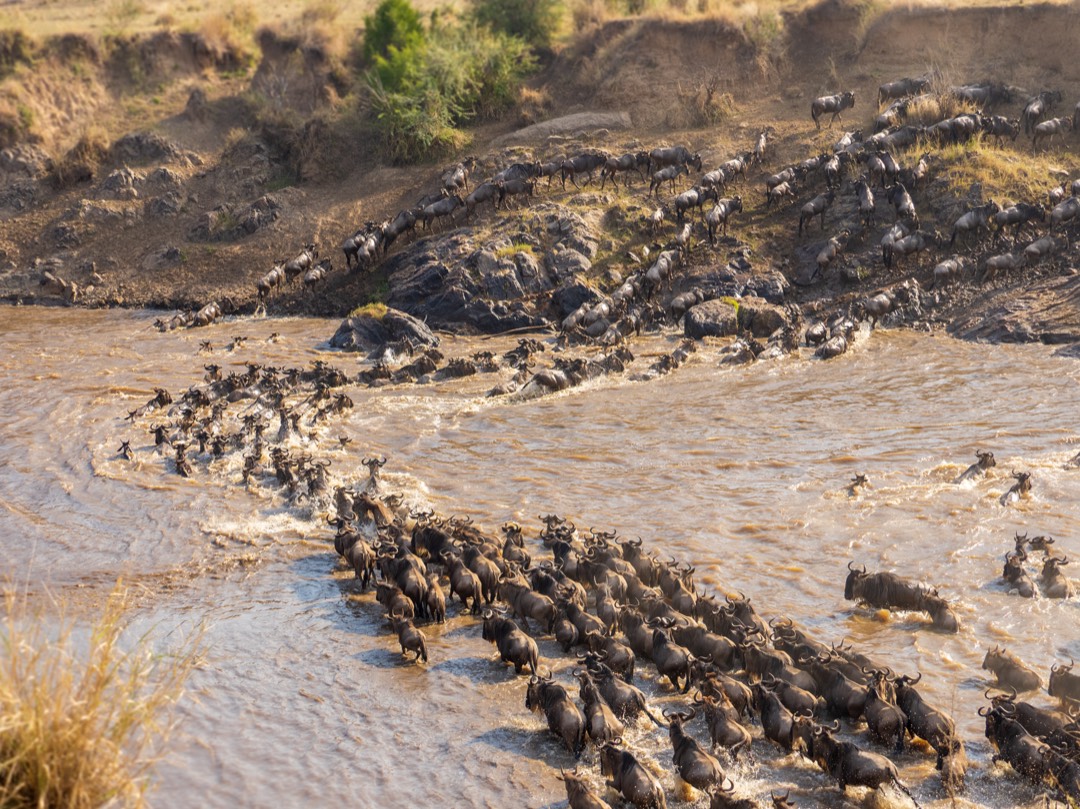
The exact timing of the big crossing depends on the year, so you can usually only hope that you get to witness it. Our time in Masai Mara covered most of August, so we had high hopes. The first weeks of our trip we were still in the waiting stages and focused our photography on other animals, but luckily just before August and our whole journey ended, the migration finally started. And we got to witness something extraordinary!
Wildlife photography is for everyone
Coming back to photography, like previously described this trip allowed us to test many different Olympus cameras and lenses in tough environments. The gear we brought covered everything from consumer friendly options to much more expensive PRO level gear.
With this article we'd like to tell you how each of options served us and what you as a photographer could benefit from them.
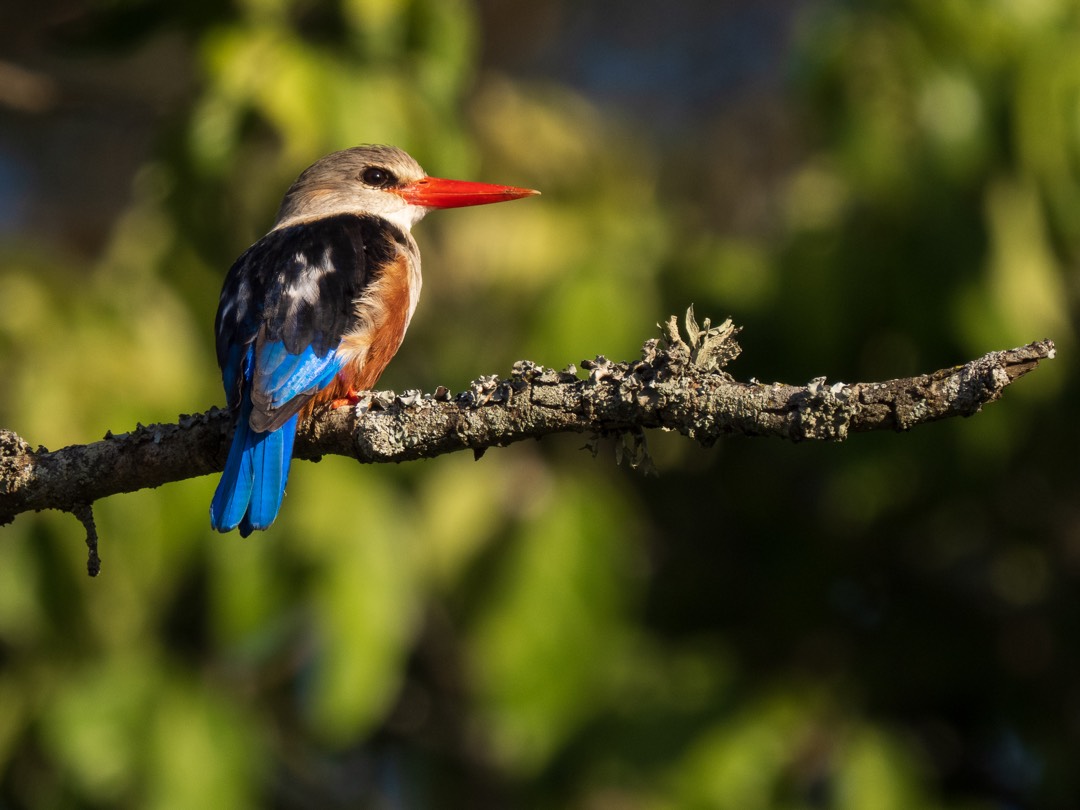
For this purpose, we brought with us the following camera bodies and lenses:
- OM-D E-M5 Mark III
- OM-D E-M1 Mark III
- OM-D E-M1X
- M.Zuiko Digital ED 75‑300mm F4.8‑6.7 II
- M.Zuiko Digital ED 100‑400mm F5.0‑6.3 IS
- M.Zuiko Digital ED 40‑150mm F2.8 PRO
- M.Zuiko Digital ED 300mm F4 IS PRO
- M.Zuiko Digital ED 150‑400mm F4.5 TC1.25x IS PRO
- M.Zuiko Digital 2x Teleconverter MC‑20
We are going to show some of the images obtained and explain the behaviour of the equipment and our experiences while photographing with them.
Light, lighter or lightest?
Nature and wildlife photography shall not be limited to mere professionals or wealthy enthusiasts with their expensive setups and luckily the smaller and cheaper options offer more than many think. So let's start our discussions with the enthusiast level E-M5 Mark III.
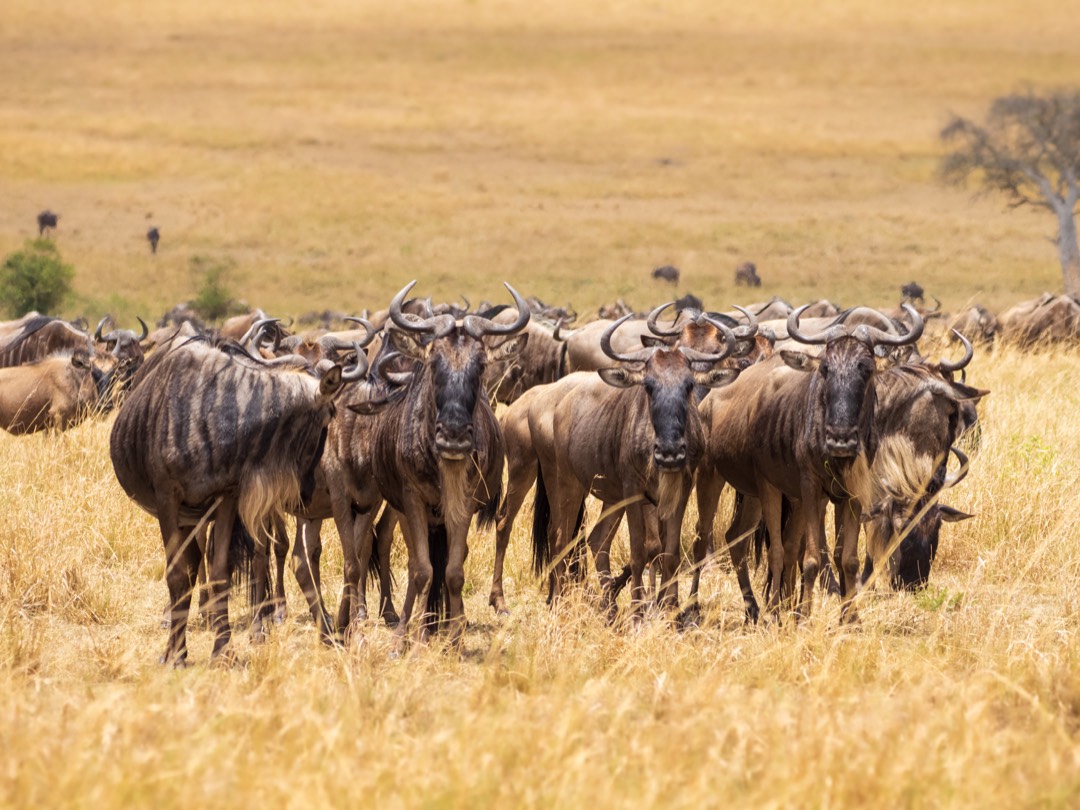
In wildlife photography the OM-D E-M5 Mark III and the M.Zuiko 75-300 lens, a combination for the entry level segment in photography that allow us, without a doubt, to take good pictures with the maximum lightness and a very tight budget.
The combination E-M5 Mark III and the M.Zuiko 100-400 offers a larger focal range. If, after testing this camera with the 75-300, you find that animal photography is your thing, this is a good way to move up a gear and gain a few millimetres.
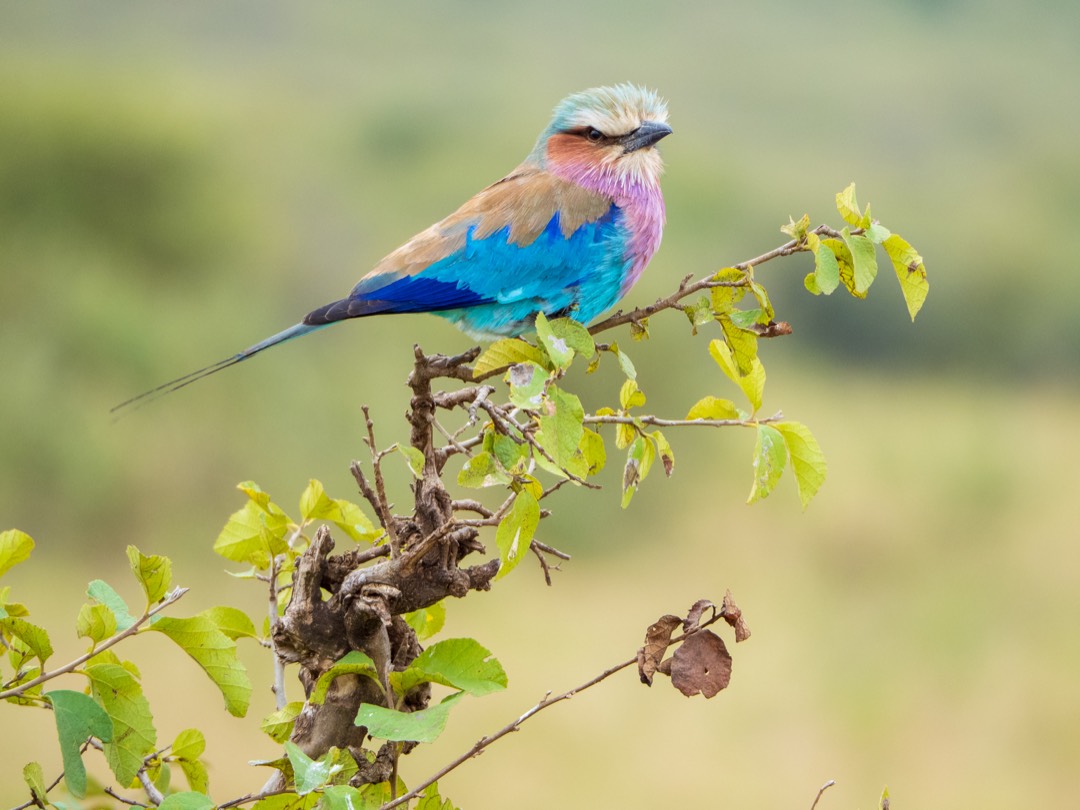
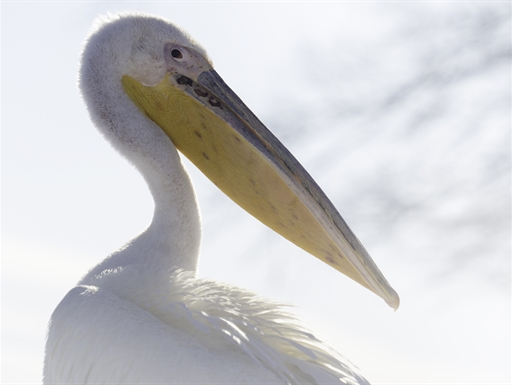
Like from the example above shows, even bird photography is easy and possible without investing into expensive pro gear. The 75-300mm lens offers a view that is equivalent to a 600 mm lens in 35 mm format, which in most systems would be huge in size.
Moving up to PRO
The first step up from the E-M5 Mark III is the E-M1 Mark III which is a fully pro level tool, but still moderate in size. Using that together with the popular M.Zuiko 40-150mm PRO and M.Zuiko 300mm PRO lenses we get a leap in quality.
The camera, both lenses and the teleconverter MC-20 are all robust in construction and form a sealed unit that allows us to work in extreme weather and environmental conditions. We also gain speed in focusing and a final image result with smooth bokeh, all without compromising on lightness.
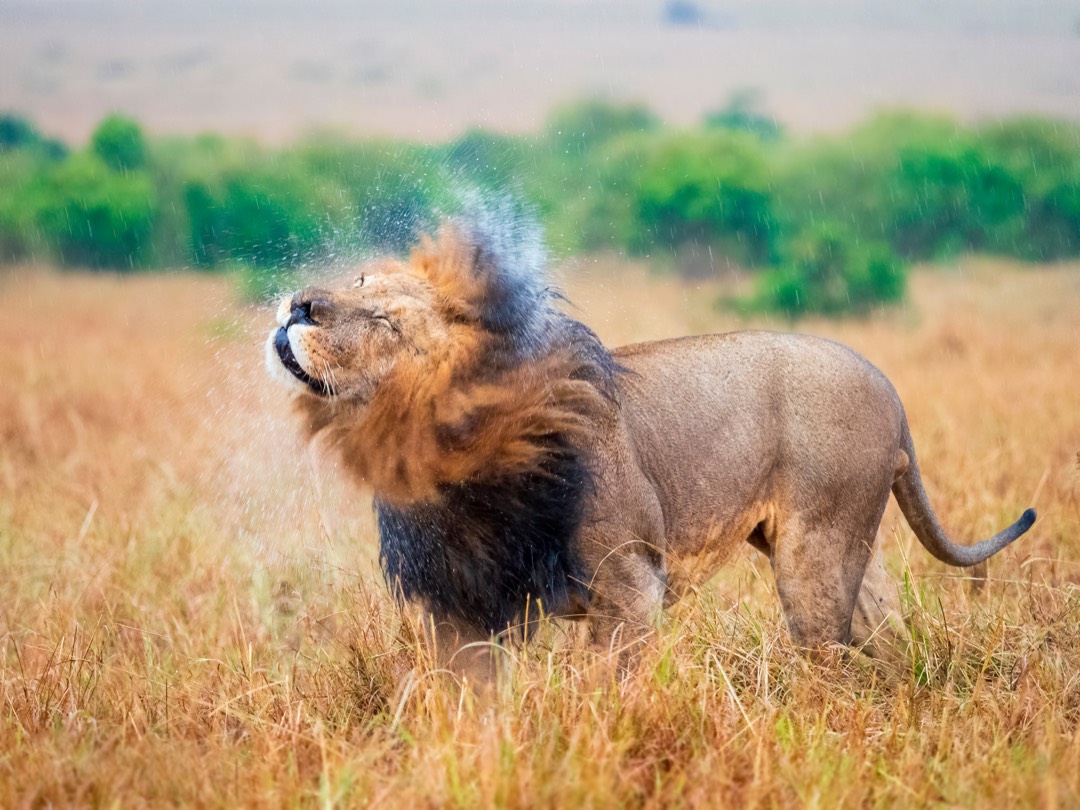
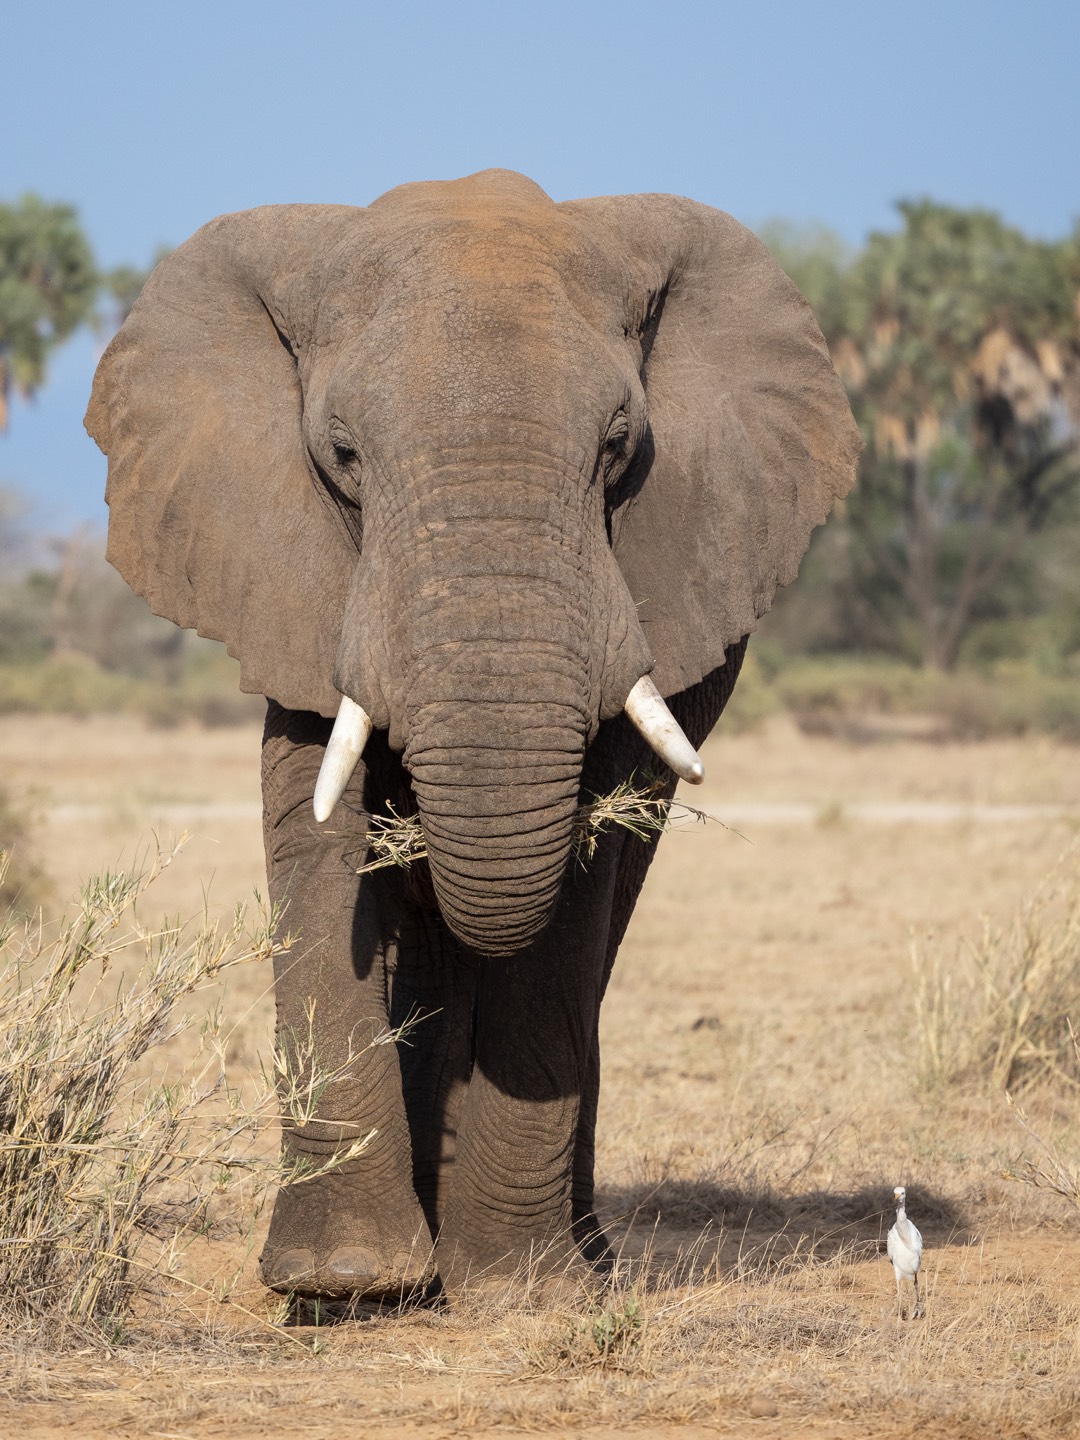
In the same way, we continue to maintain the lightness with the most versatile professional equipment on the market and with the best features, (to obtain the same focal range in other brands the economic investment is much higher). We are talking about the OM-D E-M1X and the M.Zuiko 150-400 f4.5 Pro lens, a perfectly balanced set.
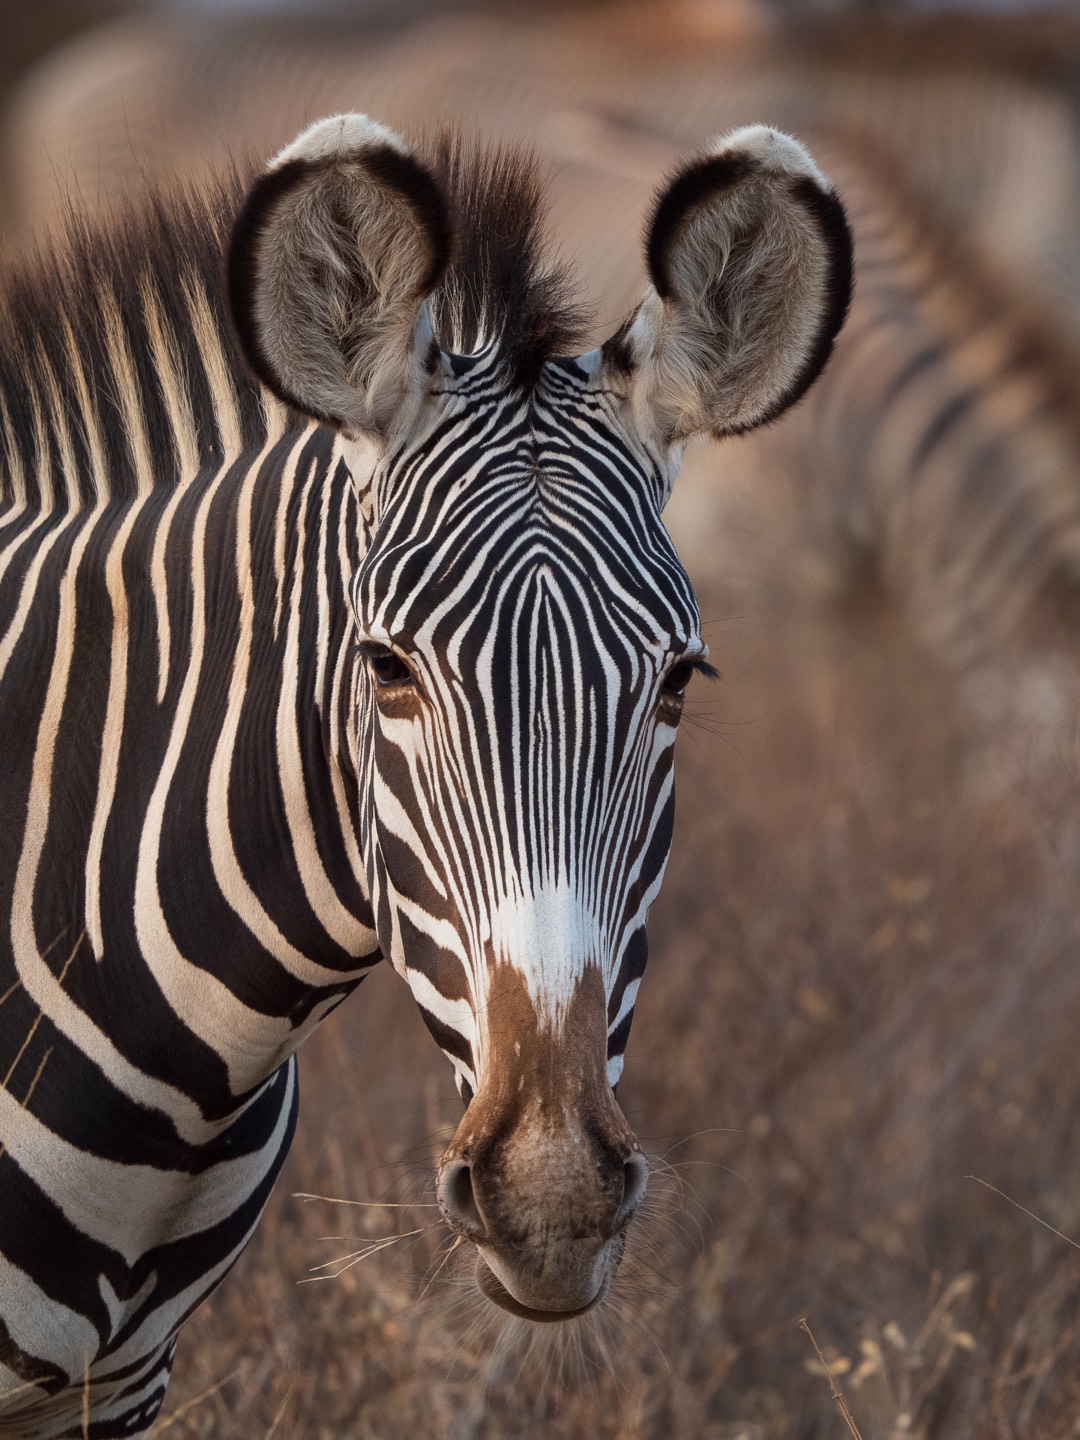
Ergonomically, the built-in grip of the M1X gives us a better grip. It is clearly noticeable that one of the two processors in this camera is dedicated to focusing, which allows us to achieve action photography at the highest level, situations that we were lucky enough to experience on a trip to Kenya on several occasions.
Practical considerations
And if we talk about bird photography, Kenya is a country with more than 700 species! To photograph them we took advantage of all the potential of the E-M1X that together with the bird tracking has shown to be an excellent choice, we have even had to couple the 150-400mm F4.5 with the MC-20 to get a distance equivalent to 2,000mm for the most elusive birds with excellent results.

The days are long on safari, from sun up to sun down, which means we are in the car in isolation for over 12 hours, but thanks to the minimal battery consumption of our equipment this has not been a problem and we have proven to be leaders in this.
Without a doubt for us the most used setting is is ProCapture. On safaris we have been able to take some of the most impressive and difficult shots thanks to this powerful tool. It is an indispensable mode for any action photographer and makes sure you don't miss any details of those moments that happen without warning and in fractions of a second.
Don't miss your moment
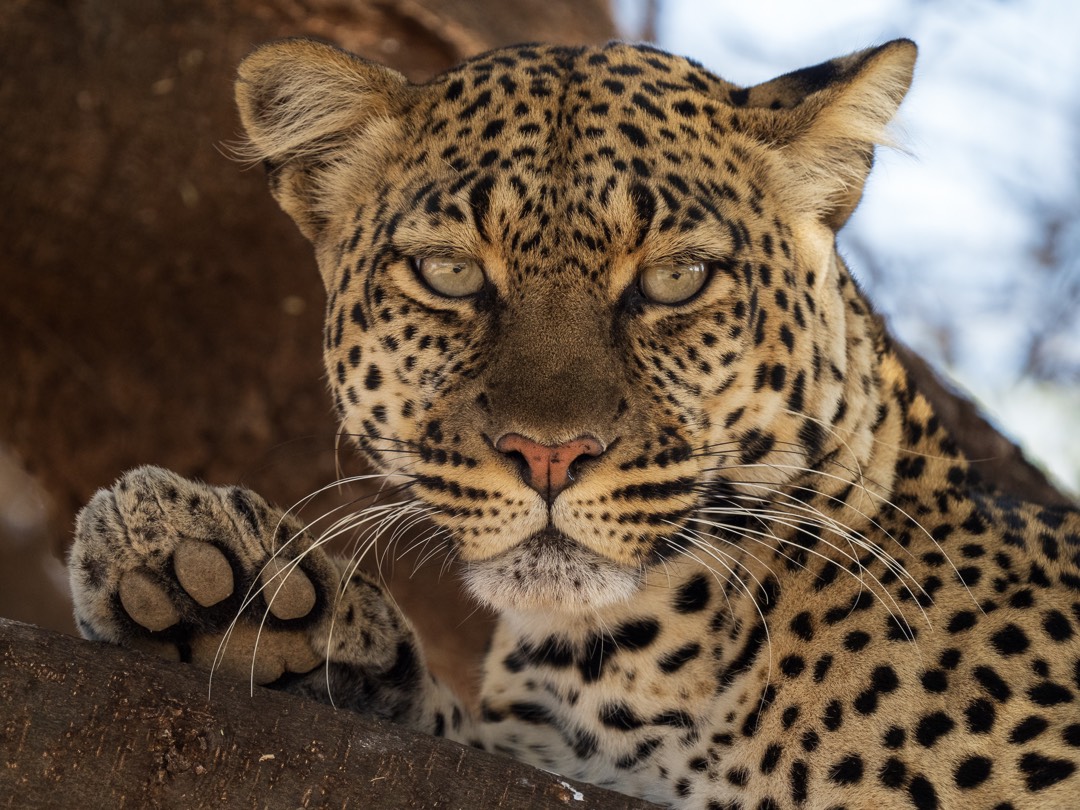
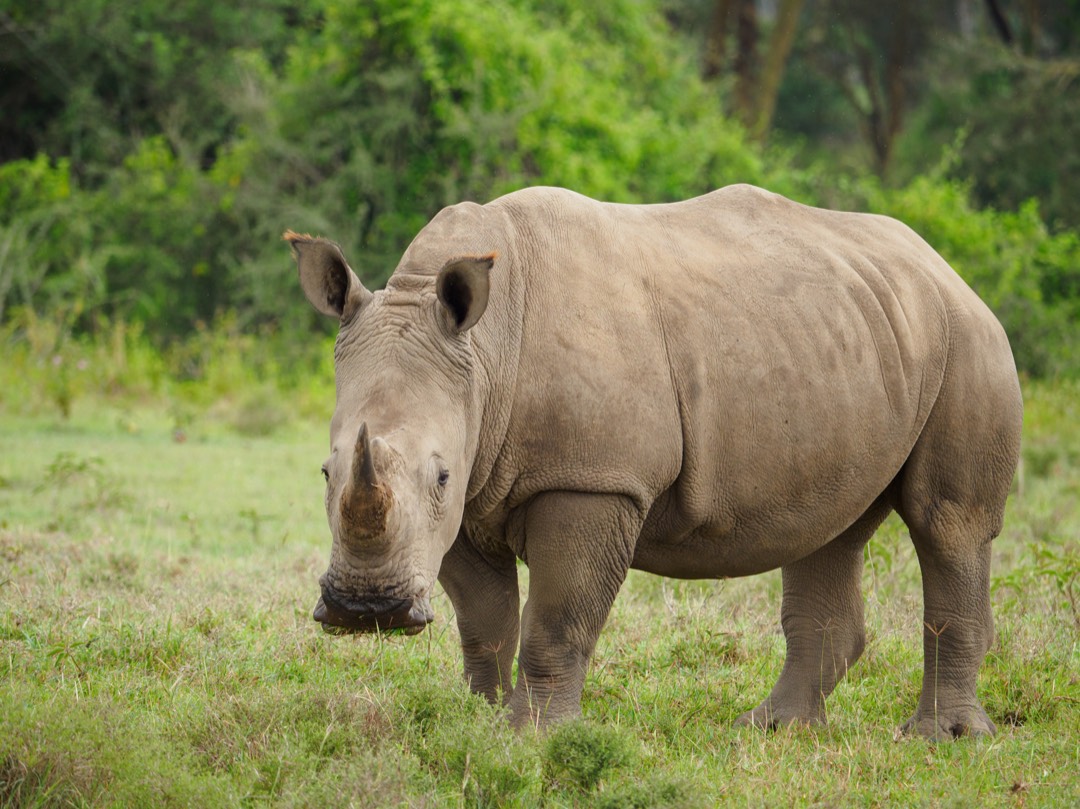
Some of the most difficult shots were those of a white rhino with its baby as we didn't have a good angle for the photos, there was hardly any light as we were in the first light of a cloudy dawn. We had to risk a difficult position. Here it was a great help to have a small, light equipment with a unique stabilization in the market. Without a doubt with any other equipment it would have been impossible to take the photos.
Once again, OM SYSTEM has proven that any combination of equipment from its three segments is ready for action and nature photography.
Featured products:
- M.Zuiko 75‑300mm F4.8‑6.7 II
- M.Zuiko 100‑400mm F5.0‑6.3 IS
- M.Zuiko 40‑150mm F2.8 PRO
- M.Zuiko 300mm F4 IS PRO
- M.Zuiko 150‑400mm F4.5 TC1.25x IS PRO)
- M.Zuiko 2x Teleconverter MC‑20
About you


