Here you will find an ever increasing range of articles covering technique and tips on using our cameras and lenses.
If you've been trying to dive into bird photography while spending time in your yard or close to home, you may be looking for the best way to capture birds in flight.
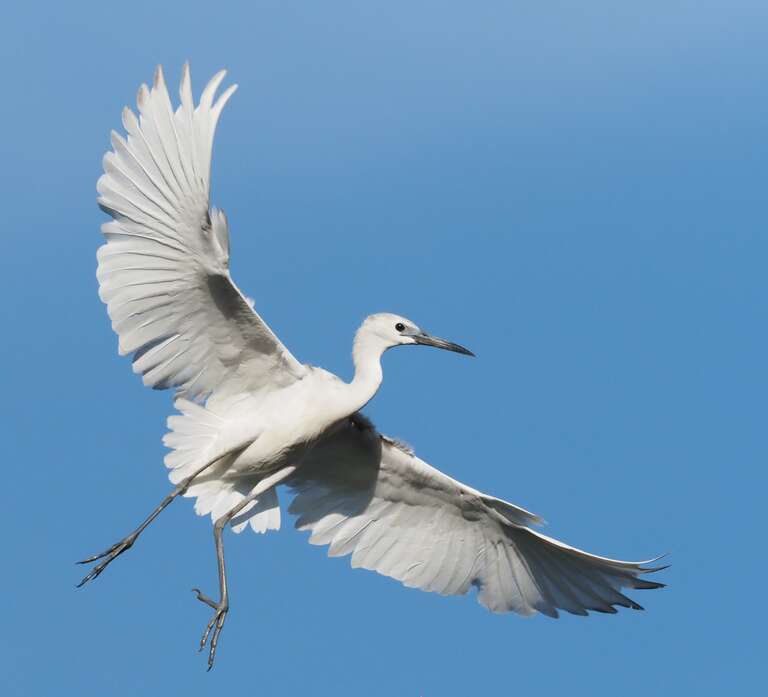
While everyone loves a picture of a beautiful bird perched on a branch, a more dynamic picture of a bird, say, taking flight or coming in for a landing with full wing spread, is the real keeper. Something that shows a bird’s behavior will always have more appeal than a “bird on a stick” photo.
These types of shots have always been difficult to take, as you had to predict the bird’s activity in order to get the shot. Being just a split-second late reacting to what we see misses the peak moment altogether. Fortunately, for these types of situations, Pro Capture Mode makes it easier for me. Pro Capture Mode grabs the split-second moments before and after the expected peak moment has happened.
How is that possible?
When in Pro Capture mode, pressing the shutter button down halfway will temporarily store images in the camera’s buffer. If you lift your finger before fully pressing the shutter button, the images are not recorded to the memory card. Continuing to fully press the shutter button will record up to 35 buffered images and continue to shoot and record the images that follow. Like magic! You can react to the action taking place and already have the image captured.
The camera I am currently shooting with is the OM-1, which has Pro Capture mode. There are two capture rate options and each has its advantages. In Pro Capture High, you capture up to 60 frames per second in Raw, JPEG or Raw + JPEG and in Pro Capture Low, up to 18 frames per second in the same formats. Aside from the frame rate, the big difference between the two is Pro Capture High locks focus on the first frame and Pro Capture Low continues to follow focus from frame to frame when set to the C-AF focus mode.
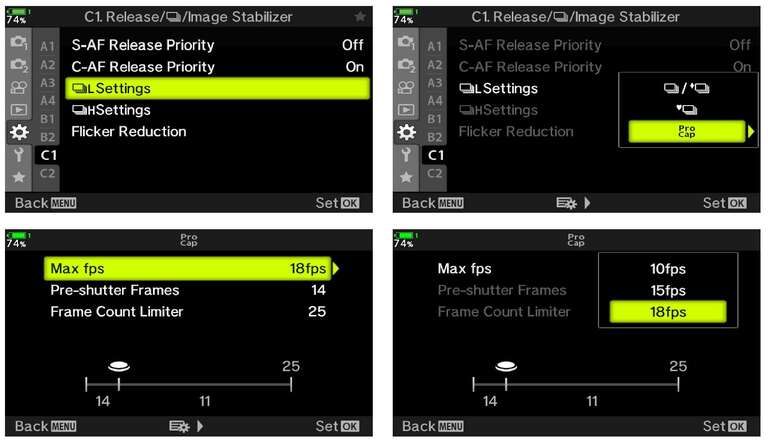
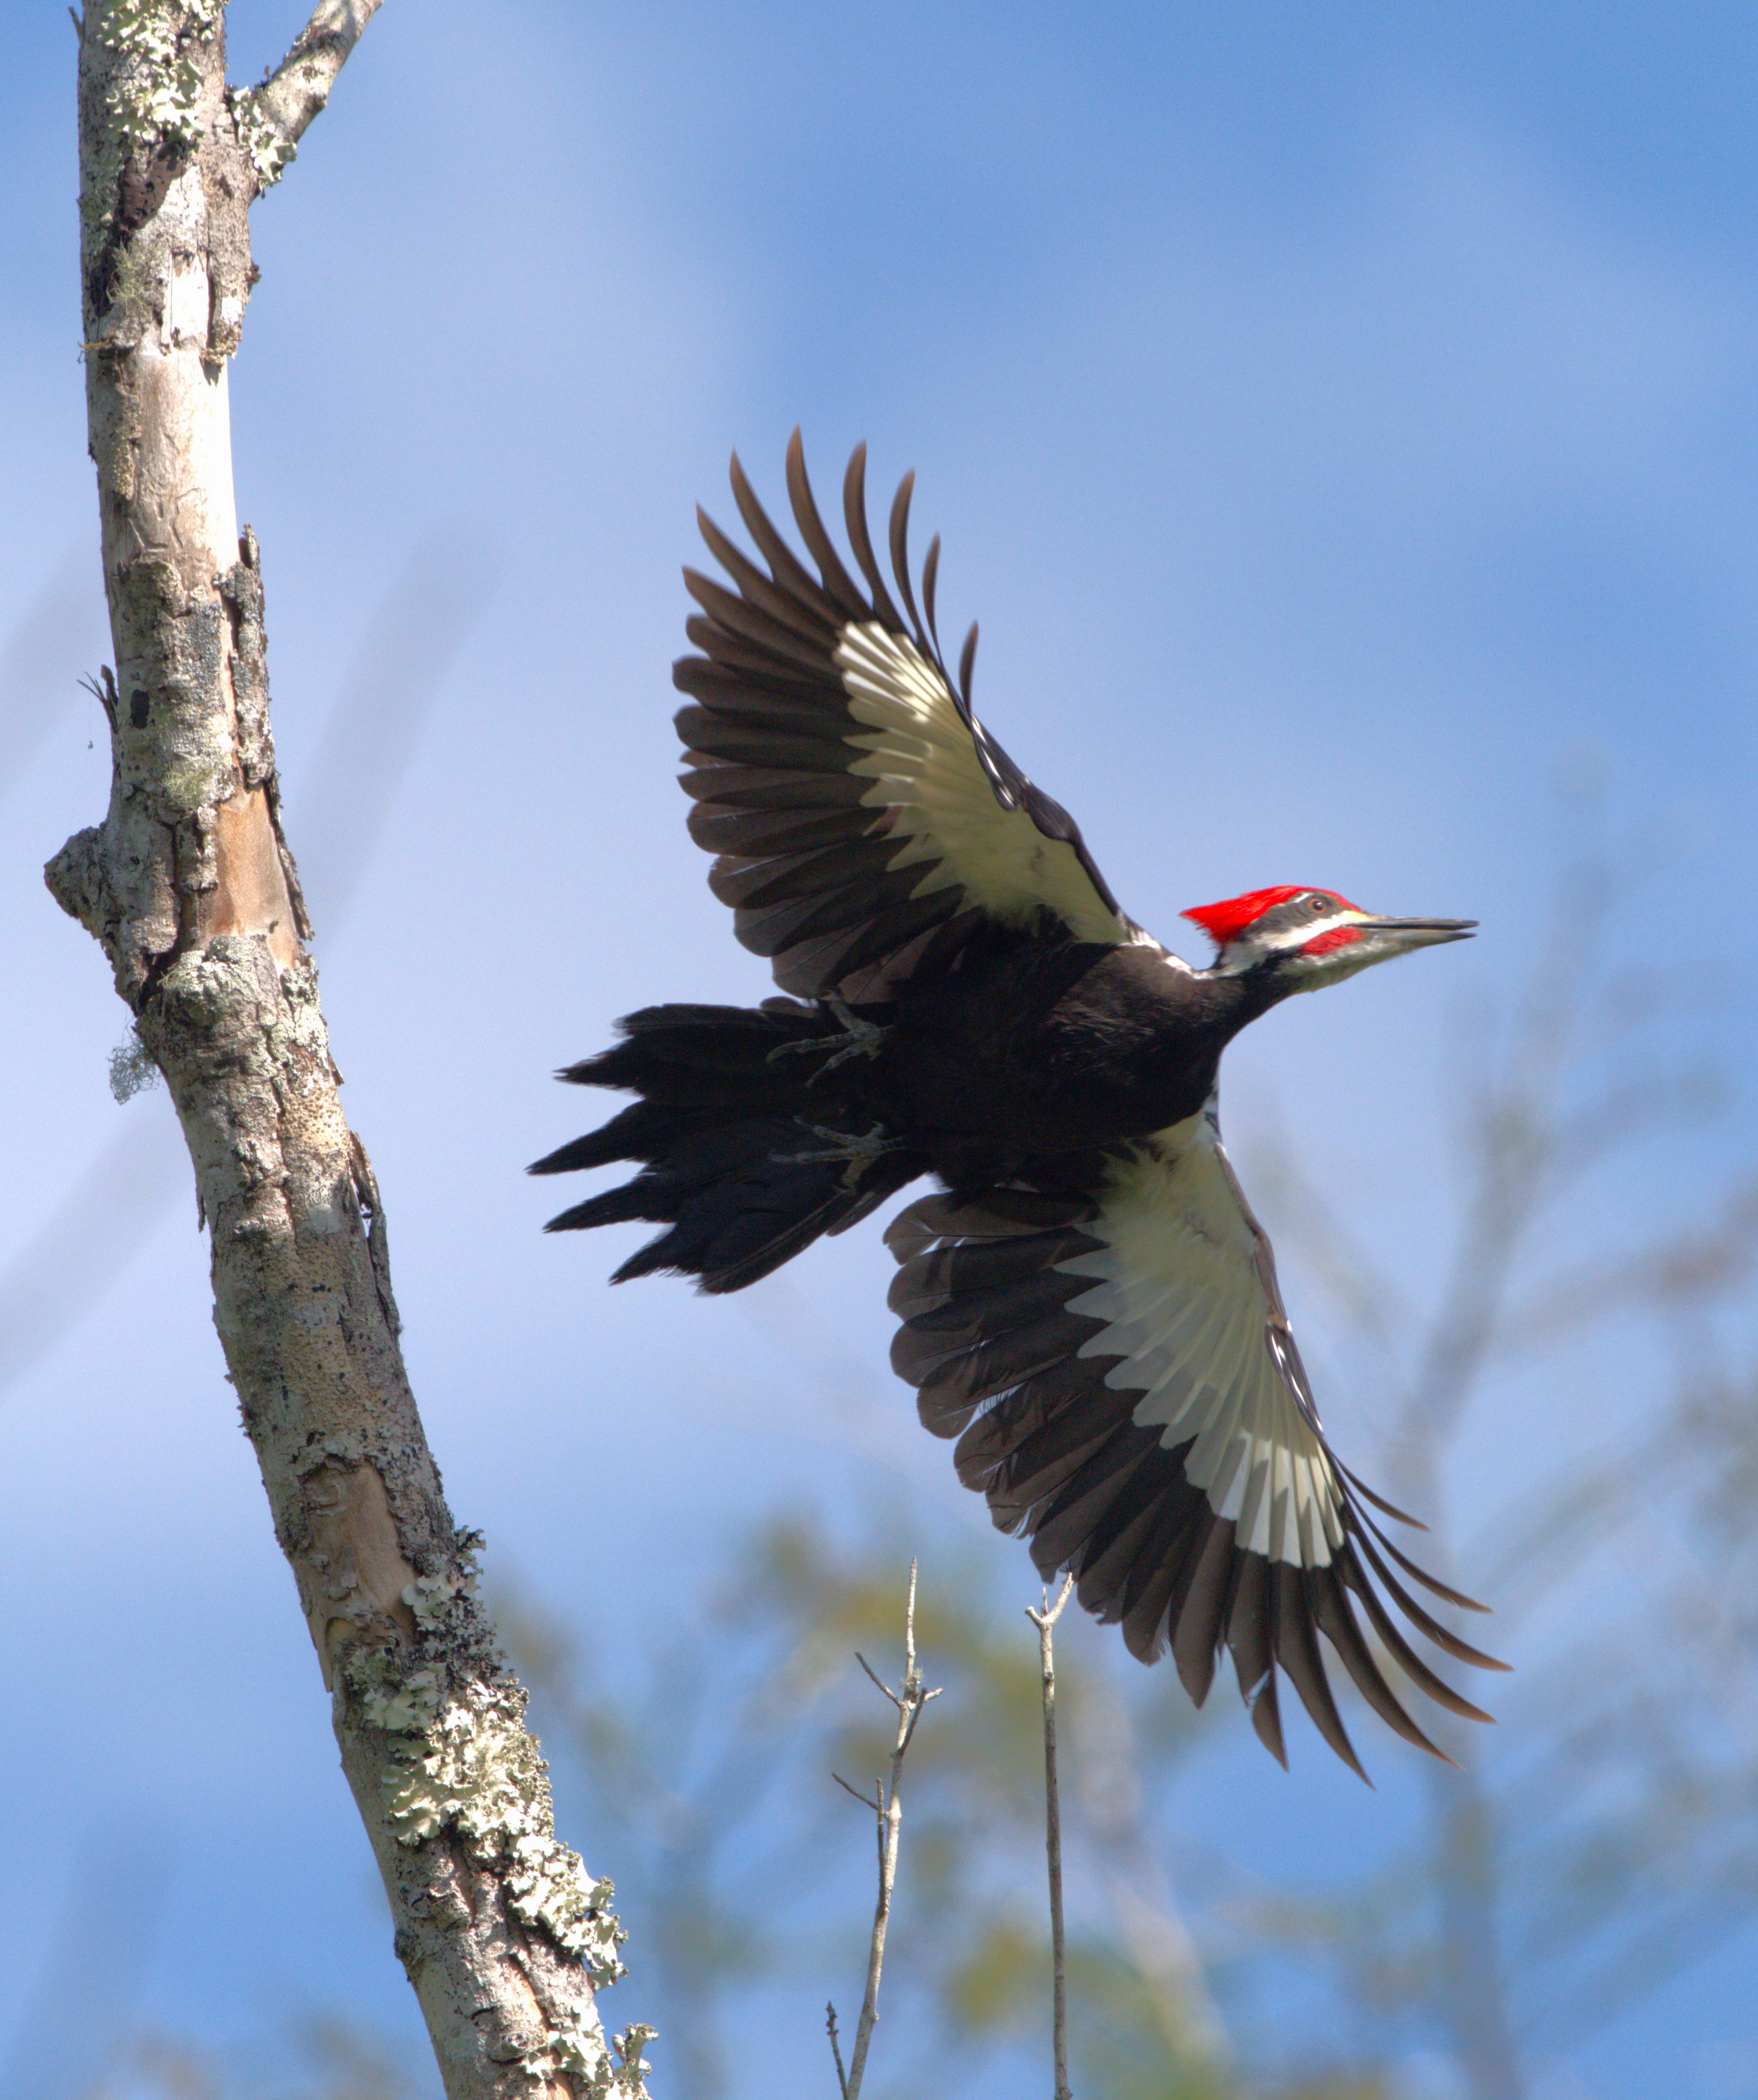
My camera is customized with Pro Capture High as my C1 setting on the Mode dial for rapid access. This is used most often for capturing a perched bird as it lifts off to my right or left (they always take off into the wind). With this positioning, they stay longer in the plane of focus allowing me to get multiple versions of their initial wing flaps to be able to catch the peak stretch of the wings.
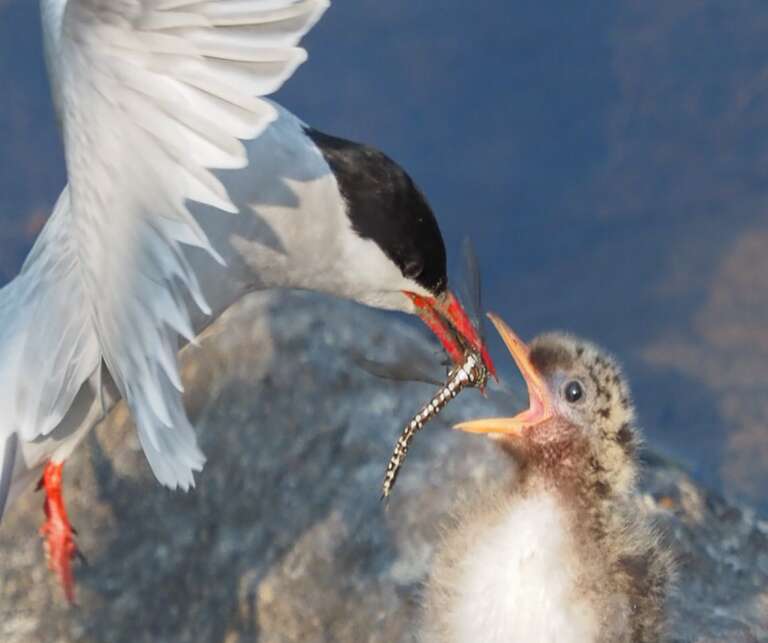
Pro Capture High is also useful when trying to catch the split-second instance of a parent flying in to feed a perched chick. Because the parent literally flies in, deposits the food directly in the chick’s mouth, and flies off, it’s very hard to capture the moment the food is exchanged. The key is to lock focus on the chick’s head as it holds still in order to get its meal. Press and hold the shutter halfway and when you see the blur of the adult zooming into the frame press the shutter button all the way down and you’ll have it! You’ll have shots of the chick in anticipation through the entire sequence of getting fed.
My OM-1 & E-M1X has Pro Capture Low assigned to the C2 position on the Mode dial. This is used for when the bird will be flying towards or away from me at an angle in order to keep focus on the bird as long as possible. I’ve found the shooting speed at of 12 frames per second in Pro Capture Low and 10 shots “pre-captured” works very well for me.
A word of caution, when you change to a Pro Capture mode, the camera shifts to electronic shutter and is completely silent. It’s very easy to take a lot of pictures in a hurry if you’re a little heavy on the shutter button.
Pro Capture can be found on the OM-1, OM-5, E-M1X, E-M1 Mark III, E-M1 Mark II, and the E-M5 Mark III cameras. Ready to upgrade? Be sure sure to check out our latest special offers.
