

How OM SYSTEM has empowered me to get closer to nature
Been thinking about OM SYSTEM? Ever wondered why some photographers that have made the switch can’t stop raving about how much they love their new camera and lens? Come with me on a walk in...
Espen Helland is a Norwegian wildlife photographer and OM SYSTEM Ambassador based in Perthshire, Scotland.
Get the OM System for Wildlife Photography Course
With a background in wildlife biology and conservation Espen has a passion for the natural world and believes it is our duty to keep as much wildlife and ecosystems alive for ourselves, for future generations, and for nature’s own sake.
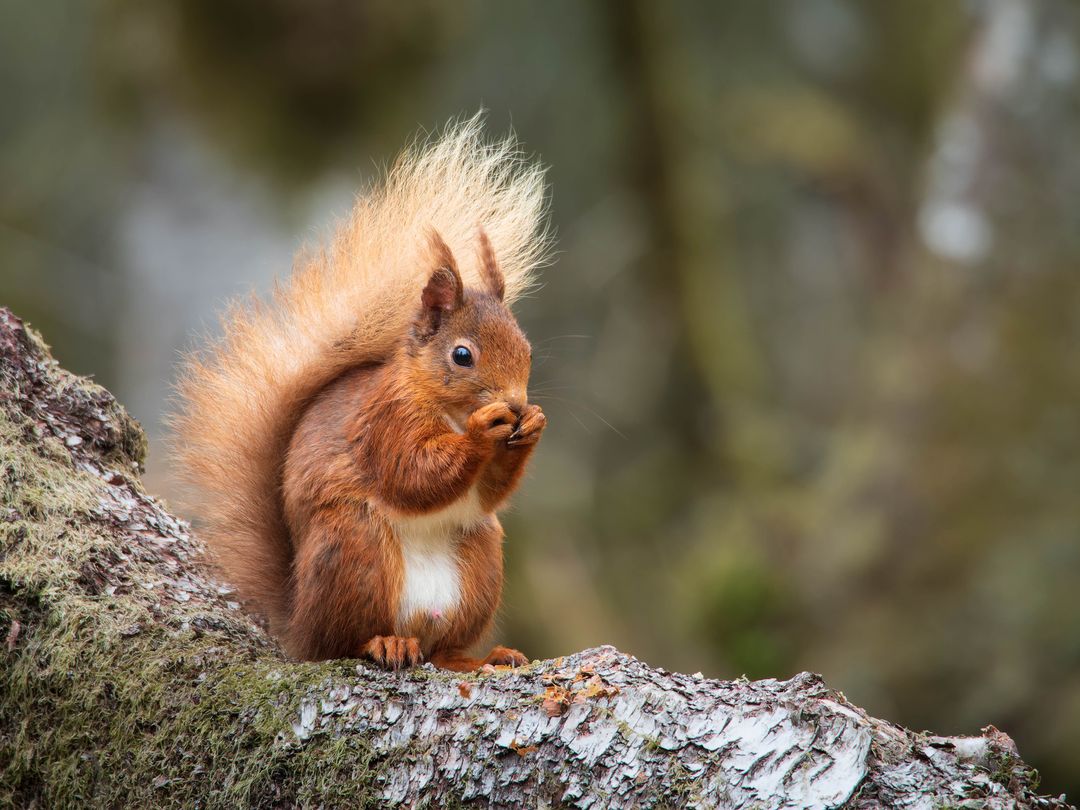
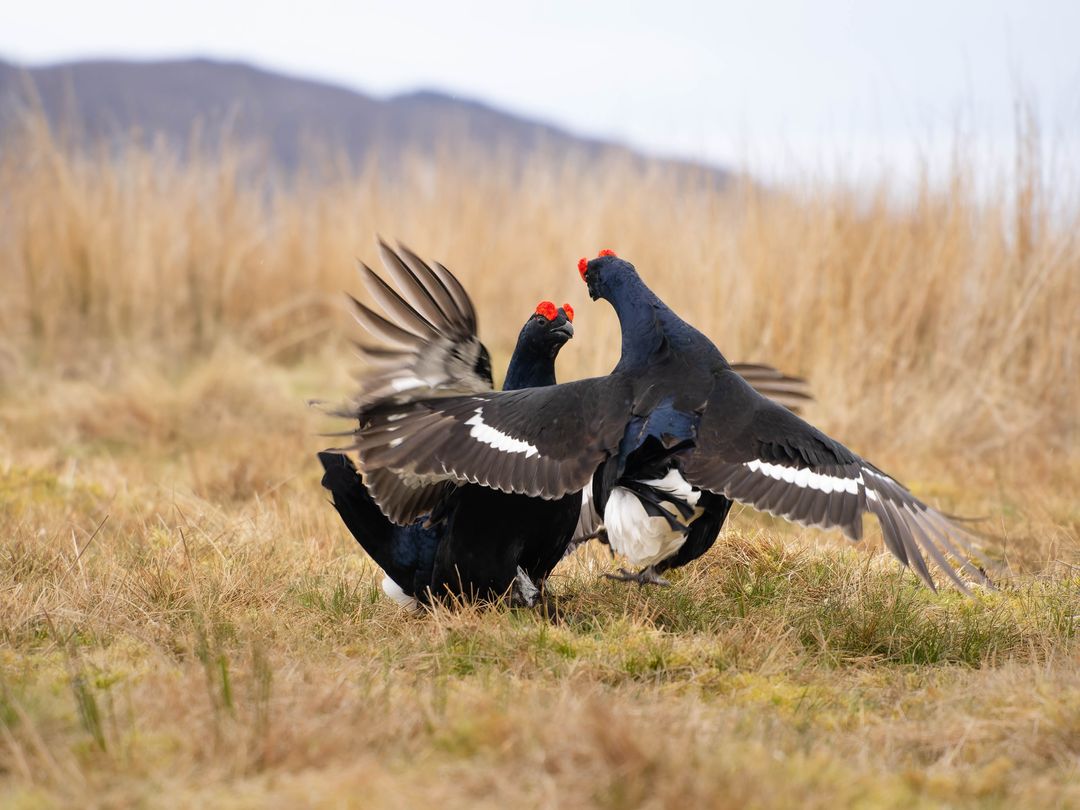
The study of the natural world and its processes is a lifelong pursuit and such an important aspect of wildlife photography. Espen's favourite way to capture animals is in their natural habitat, exhibiting natural behaviours without disturbing them, and for this, knowledge of subject, habitats and ecological processes all contribute towards getting the perfect image.
You can follow Espen's work on Facebook and Instagram, but for a deeper insight into what goes on in the life of a wildlife photographer check out his YouTube channel where he brings into the field for the experience. You can also find wildlife photography tip videos and specific videos on using Olympus gear for wildlife photography.