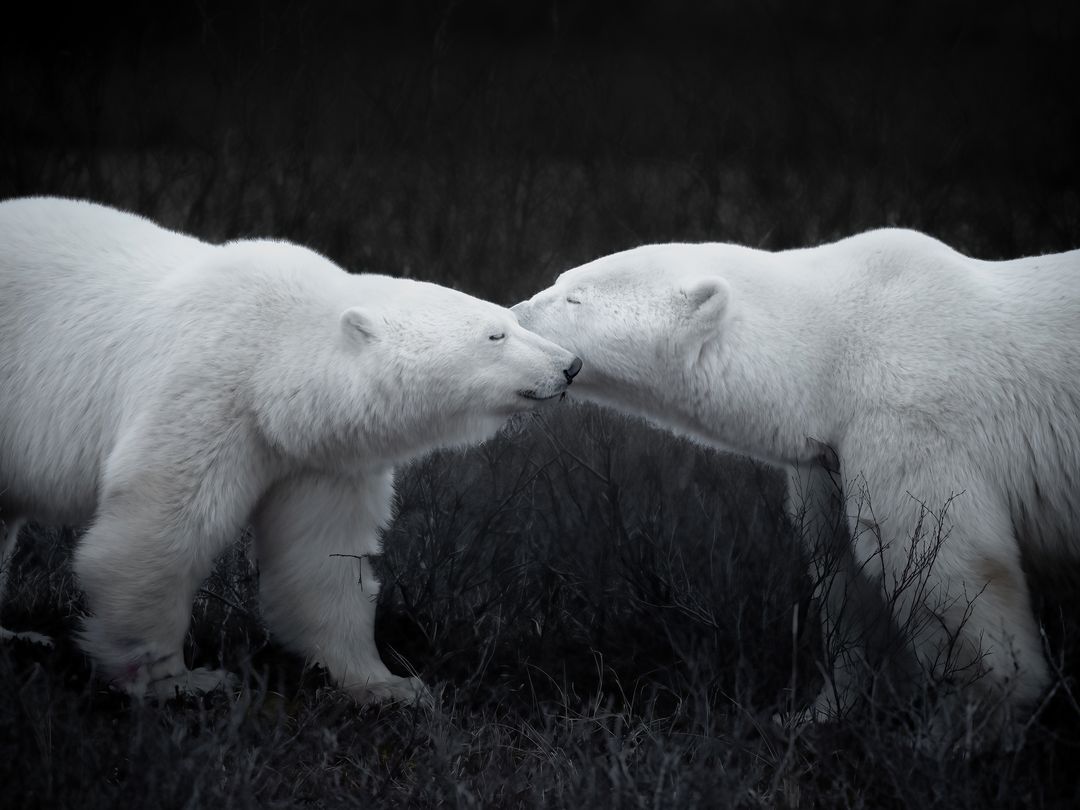
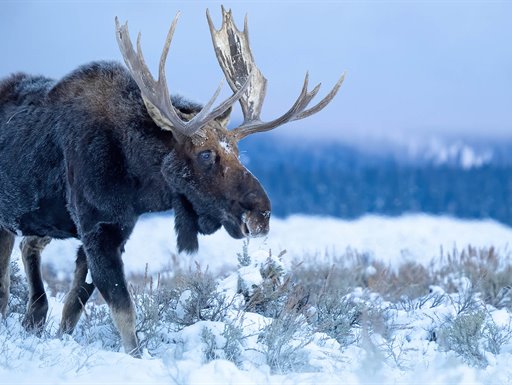
Complete the form below to create your account

This will be your public name in the community
We need this to keep you informed about your account

Mandatory data.

Why you'll love MyOMSYSTEM

All members get access to exclusive benefits:

  • Member community
  • Register products
  • Extended warranty
  • Monthly newsletter

Optimizing Camera Settings for Wildlife Photography

Suddenly, there you are… face to face with the animal encounter of your dreams, camera in hand, beautiful light, soul filled. Although being at the right place at the right time is an essential element of wildlife photography, making sure your settings are mastered so that you can capture the moment in its true essence can be a challenging and sometimes daunting task. By better understanding the role that each camera setting plays in capturing a wildlife scene and boiling it down into a simpler and more approachable method, you’ll be off and capturing the images of your dreams in no time.

OM-1 • M.Zuiko Digital ED 150-400mm F4.5 TC1.25X IS PRO • 400 mm • 1/640 s • F4.5 • ISO 1000

Setting Your Aperture

As you may already know, the three key settings of shutter speed, aperture, and ISO are at the root of all photography. Before diving in to some of the specifics of these settings, it is important to remind ourselves that wildlife photography at its core is, in many ways, portrait photography. This means that we are constantly looking to isolate our subjects from their backgrounds, creating images with tack sharp focus points and buttery smooth bokeh in the background and foreground. So, how does this relate to our settings?

In the world of creating images with smooth bokeh and backgrounds, it all begins with aperture. A wider aperture (lower number, f2.8 to f5.6) maximizes the light that enters your camera as well as the bokeh for the areas not in focus in your image. Contrarily, a more narrow aperture (higher number, f8 and above) restricts more light entering your camera and will create an image with more in focus. Certainly, there are time where a more narrow aperture comes in handy (images of animals in landscapes, for example), but in general I find that most wildlife images are best captured at f8 and below.

Generally speaking, it is best to keep your camera’s aperture wider when it comes to wildlife photography for 2 key reasons. First and most obviously, it will allow you to create images that have smoother backgrounds and softer bokeh, thereby isolating your subject more and giving you those images that pop and catch the eye off the bat. Second, by maintaining your aperture open between f2.8 and f5.6 you will allow more light into your camera and give yourself more flexibility in choosing the perfect shutter speed - the next and maybe most important setting.

Choosing Your Shutter Speed

With your aperture set, the next piece of the puzzle is your shutter speed. Of course, wildlife is rarely still and its important to capture your subject sharply to deliver an image that stops people in their tracks. This is why shutter speed is always the key settings always poking the back of my mind throughout any photo shoot out in the wild. Animals, most of which have fur or feathers, have a lot of detail that needs to be perfectly immobilized in an image to deliver a stunning result. For this reason, I generally photography wildlife with a default shutter speed somewhere between 1/400s and 1/1000s.

It's generally a good idea to set your shutter speed at a slightly higher rate (say 1/800s or 1/1000s) when you’re on the move and looking for wildlife so that you are prepared for a spontaneous encounter at the drop of a hat. If you are photographing birds, especially birds in flight, it may be better to shoot for something around 1/1600s or 1/2000s as a default shutter speed. Once you find an animal and have the time to settle in to your flow a little more, you can allow yourself some flexibility in finding the perfect shutter speed for the shot of your dreams.

With animals that tend move slower, such as moose, bison, and other large ungulates, you can generally be a little more relaxed and shoot with shutter speeds as low as 1/200s. This is also true any time you are photographing an animal that is still - say an owl looking straight into your camera, or a bear pausing to look at its surroundings. With animals that move a little faster, say a running bear or a bird taking off, shooting with higher shutter speeds between 1/800s and 1/2000s is necessary to stop the motion of your subject. You will also need a higher shutter speed for a subject coming straight towards you rather than moving sideways, as your camera focuses based on distance and your subject will therefore be moving out of focus more quickly.

Choosing your shutter speed is not a one and done task. Instead, it is an ever evolving thought process that can vary not only between animal encounters, but also depending on the kind of behavior that a specific animal is exhibiting. It can take a bit of playing around to master with the animals in your area, but as a rule of thumb try and start by overshooting your shutter speed rather than undershooting it - its always better for something to be sharp rather than not!

OM-1 • M.Zuiko Digital ED 150-400mm F4.5 TC1.25X IS PRO • 220 mm • 1/400 s • F4.5 • ISO 800

Tuning Your ISO

The last piece of the puzzle in mastering your settings is fine tuning your ISO. Much like aperture, your ISO also controls the amount of light entering your camera. However instead of physically allowing more light into your camera as aperture does, it modifies your sensor’s sensitivity to light which can also have domino effects on the final look of your image. A higher ISO generally means more noise in your image, which is something we all try and avoid. However, sometimes this is a necessary evil in order to capture an image with a high enough shutter speed.

Because of the detrimental impacts that shooting at a very high ISO can have on our final images, it is important to remind ourselves how we can minimize our ISO using our aperture and shutter speed. The wider aperture you are shooting (lower number), the more light will enter your camera and therefore the lower ISO you will be able to use to create comparable results. Sometimes, sacrificing having more in focus on a wildlife in landscape shot by widening your aperture is necessary in order to deliver a crisper and less noisy image by shooting with a lower ISO. The same can be said about shutter speed - the slower your shutter speed, the lower ISO you will be able to use. This is a frequent and constant debate in my mind in low light situations - trying to figure out how low of a shutter speed I can get away with without sacrificing sharpness in order to minimize my ISO setting.

For those shooting in Manual Mode, ISO is also our way of fine tuning our exposure so that the image is produced at the brightness level that we desire. For those shooting in Aperture Priority Mode, your +/- exposure dial essentially tweaks your ISO when set to Auto. Aperture Priority is a great way to get started with wildlife photography, but your end goal should be feeling comfortable in Manual Mode in order to have the ultimate control over your images.

OM-1 • M.Zuiko Digital ED 150-400mm F4.5 TC1.25X IS PRO • 229 mm • 1/5 s • F18 • ISO 80

Other Key Settings

Aside from the “big 3” settings, there are a few other important things to note in order to maximize your potential at capturing stunning wildlife images. The first and one of the most important is your burst mode settings. As we discussed earlier, wildlife is nearly always moving and capturing that split second moment that an animal is looking right at you, not blinking, or posing in just the right way generally requires shooting in burst mode as it is unlikely that a single shot will capture that one moment. Most of the time, I keep my camera set to shoot at around 20 frames a second in silent burst mode. This gives me enough images of a moment that I can be picky about the exact image I end up editing - always looking for the perfect look or pose from my subjects.

Another equally important component is selecting the right focus mode. I typically shoot in one of 2 focus settings - Single Autofocus (S-AF) or Continuous Autofocus (C-AF) with subject detection turned on. When using my older camera body, I like to replace the C-AF paired with subject detection with the handy Continuous Autofocus + Tracking mode (C-AF+TR). The Single Autofocus mode is my go to anytime I have a subject in a relatively still position, such as a bird on a perch or a slow moving grazing animal like a moose or a bear. However, as soon as animal starts to move I like to switch into Continuous Autofocus modes, with subject detection or tracking. There are ways to map your camera buttons to switch between focus modes - this has been an incredibly useful feature in allowing me to quickly switch between S-AF and C-AF.

E-M1 Mark III • M.Zuiko Digital ED 40-150mm F2.8 PRO • 40 mm • 1/3200 s • F2.8 • ISO 200

Piecing It All Together

Now that you have a better general understanding of how to best master your settings for wildlife photography, the next and most important step is to play! Get out there, go find the subjects or your dreams, or some more casual ones in your neighborhood like squirrels and birds, and start to test out different settings. See what looks and feels good, and figure out where you feel like you are holding yourself back. Be patient, and give yourself the grace of time as you learn to create images that are true and unique to yourself. The beautiful thing about photography is that there is no on right or wrong way to do anything, we all have a different perspective on the world and it is entirely up to us to manifest this vision into a still image in our own creative way. Get out there, and stay wild!

E-M1 Mark III • M.Zuiko Digital ED 300mm F4.0 IS PRO • 189 mm • 1/1250 s • F4.5 • ISO 800

E-M1 Mark III • M.Zuiko Digital ED 40-150mm F4.5 TC1.25X IS PRO • 40 mm • 1/3200 s • F2.8 • ISO 200

Featured products:

About the author

Related Tags

Comments

More from ‘Wildlife’

  • First Impression of the M.Zuiko Digital 2x Teleconverter MC-20

    Two years ago, if you’d asked me if I was interested in using a 2x converter the answer would have been an unequivocal “no”. I’d had a few bad experiences when I was using my old DSLR system, resulting in poor image quality and unreliable autofocus. When asked to test the new Olympus M.Zuiko Digital 2x Teleconverter MC-20, I was tentatively excited. I knew I had complete confidence in Olympus equipment, but it was impossible...
    M.Zuiko Digital ED 40-150 F2.8
  • Pro Capture ‘Back to the future’

    A blessing for action photography, a tool that makes fast-paced photography much more relaxed and accurate or simply a great feature that is literally ahead of its time! These thoughts, and nothing else, continue to run through my mind when I take photographs like they did in the ‘olden days’. As a nature photographer, the times of relying on my reaction and the chance factor alone are over. As are the times of extreme...
    E-M1Mark II
  • 12 Reasons to Choose the OM-1

    We asked 12 of our ambassadors who have been using the OM-1 since launch what stands out for them about this ground-breaking camera. Whether you are wondering if it is time to upgrade or considering joining the OM SYSTEM for the first time, take a ...
    om-1