

How OM SYSTEM has empowered me to get closer to nature
Been thinking about OM SYSTEM? Ever wondered why some photographers that have made the switch can’t stop raving about how much they love their new camera and lens? Come with me on a walk in...
Rob is a Mother Nature and feathered friend lover and photographer, light fiend, rain hater, tea admirer and veganist from South Wales. He likes nothing better than laying silently in something he shouldn’t, whilst waiting patiently for the shot that doesn’t happen!
Having the good fortune of his mother instilling a love of nature from an early age meant a lifelong love of wildlife and its welfare. Self-taught and always adding a healthy dose of passion as with his other love music, can add a slightly different way of looking at things.
Nature is the reason he picks up the camera but the camera makes him go out to see it more often. His adoration for wildlife is far more important than pressing the shutter button and its wellbeing always comes first. Animals are not on this planet for our pleasure to do with it what we will but to live alongside and respect. Wildlife photography is not an at 'all costs' pursuit, if you think it's wrong it probably is, we are just mucking around with a camera!
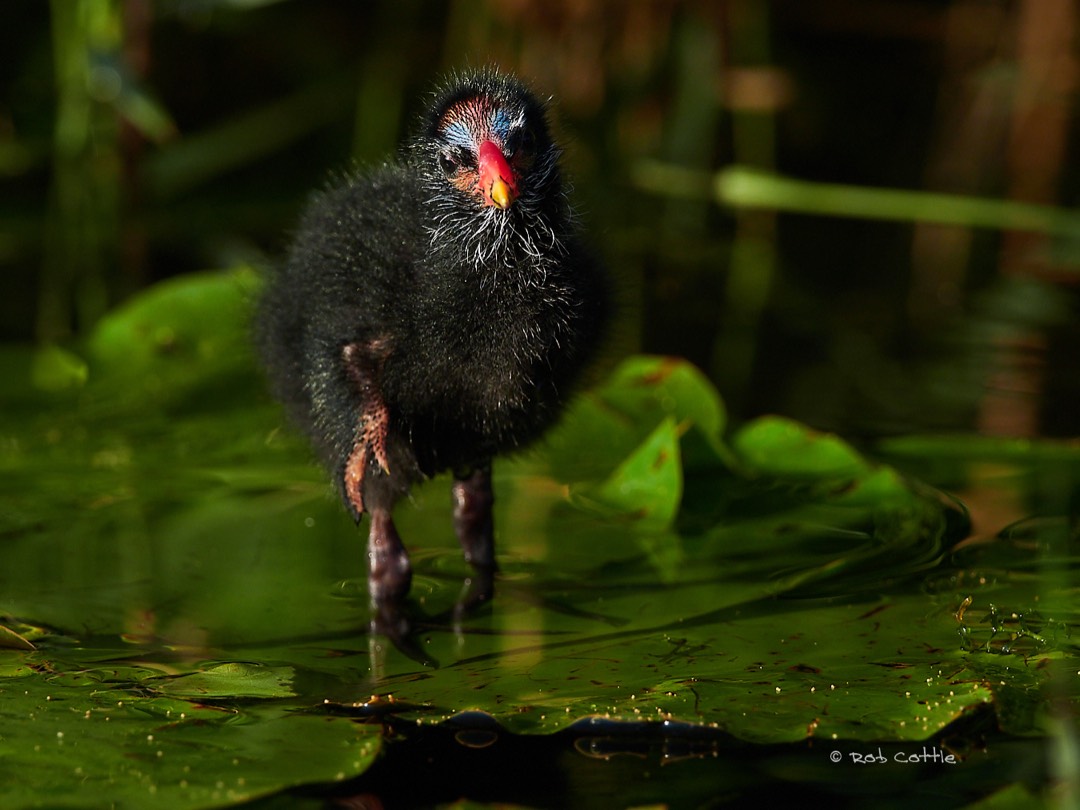
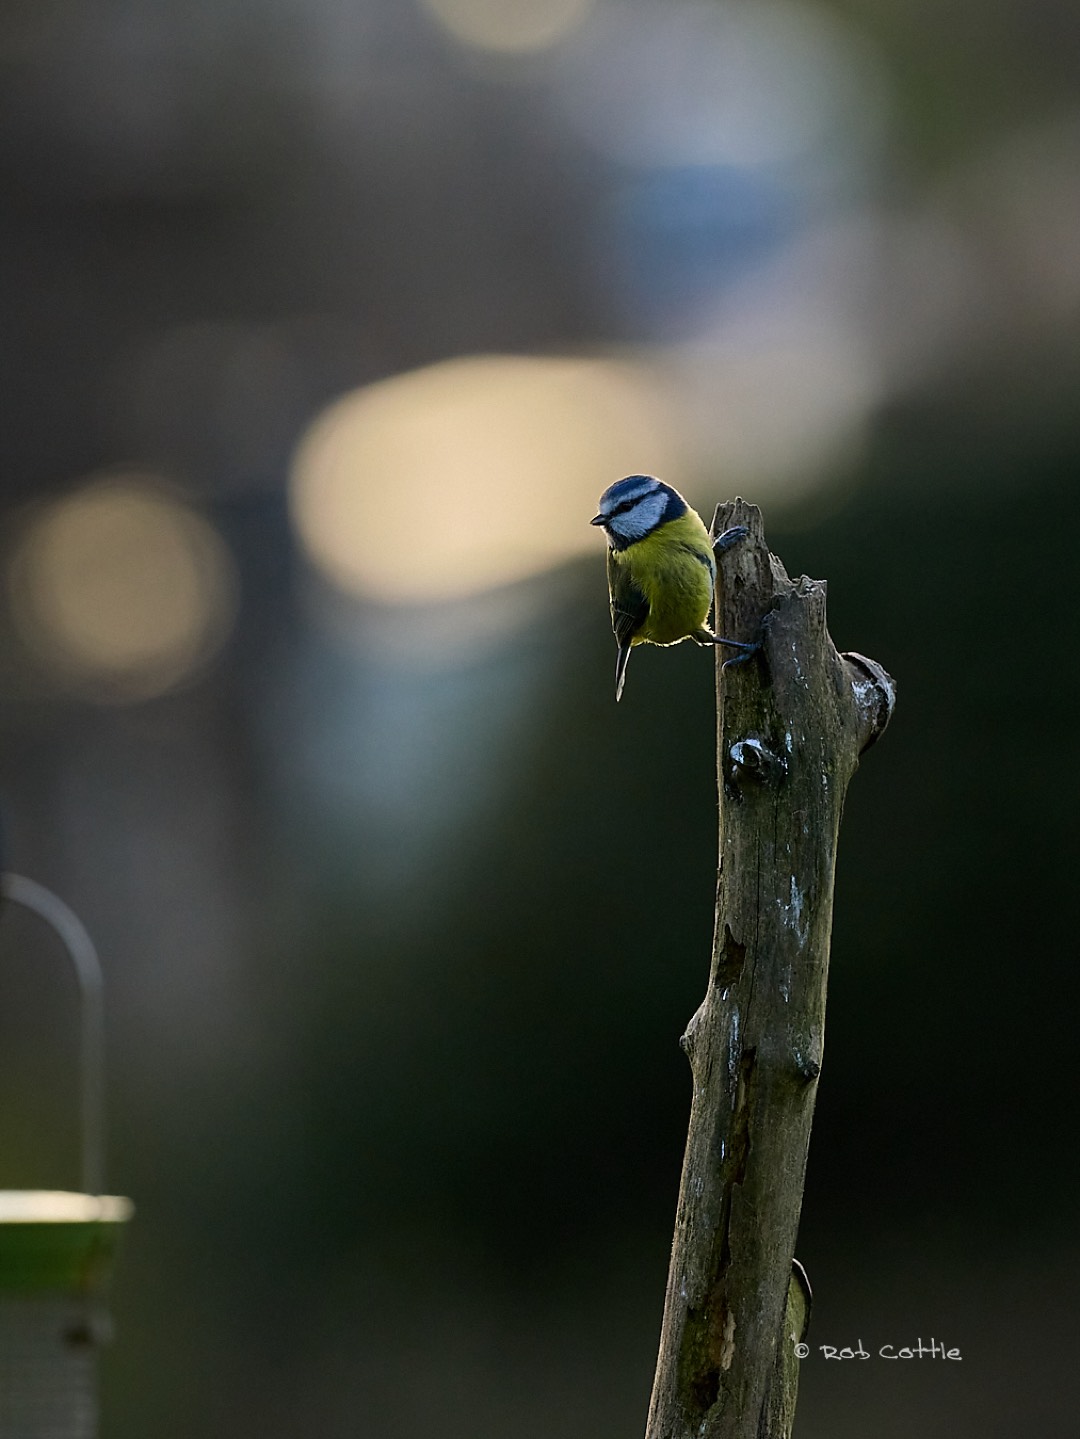
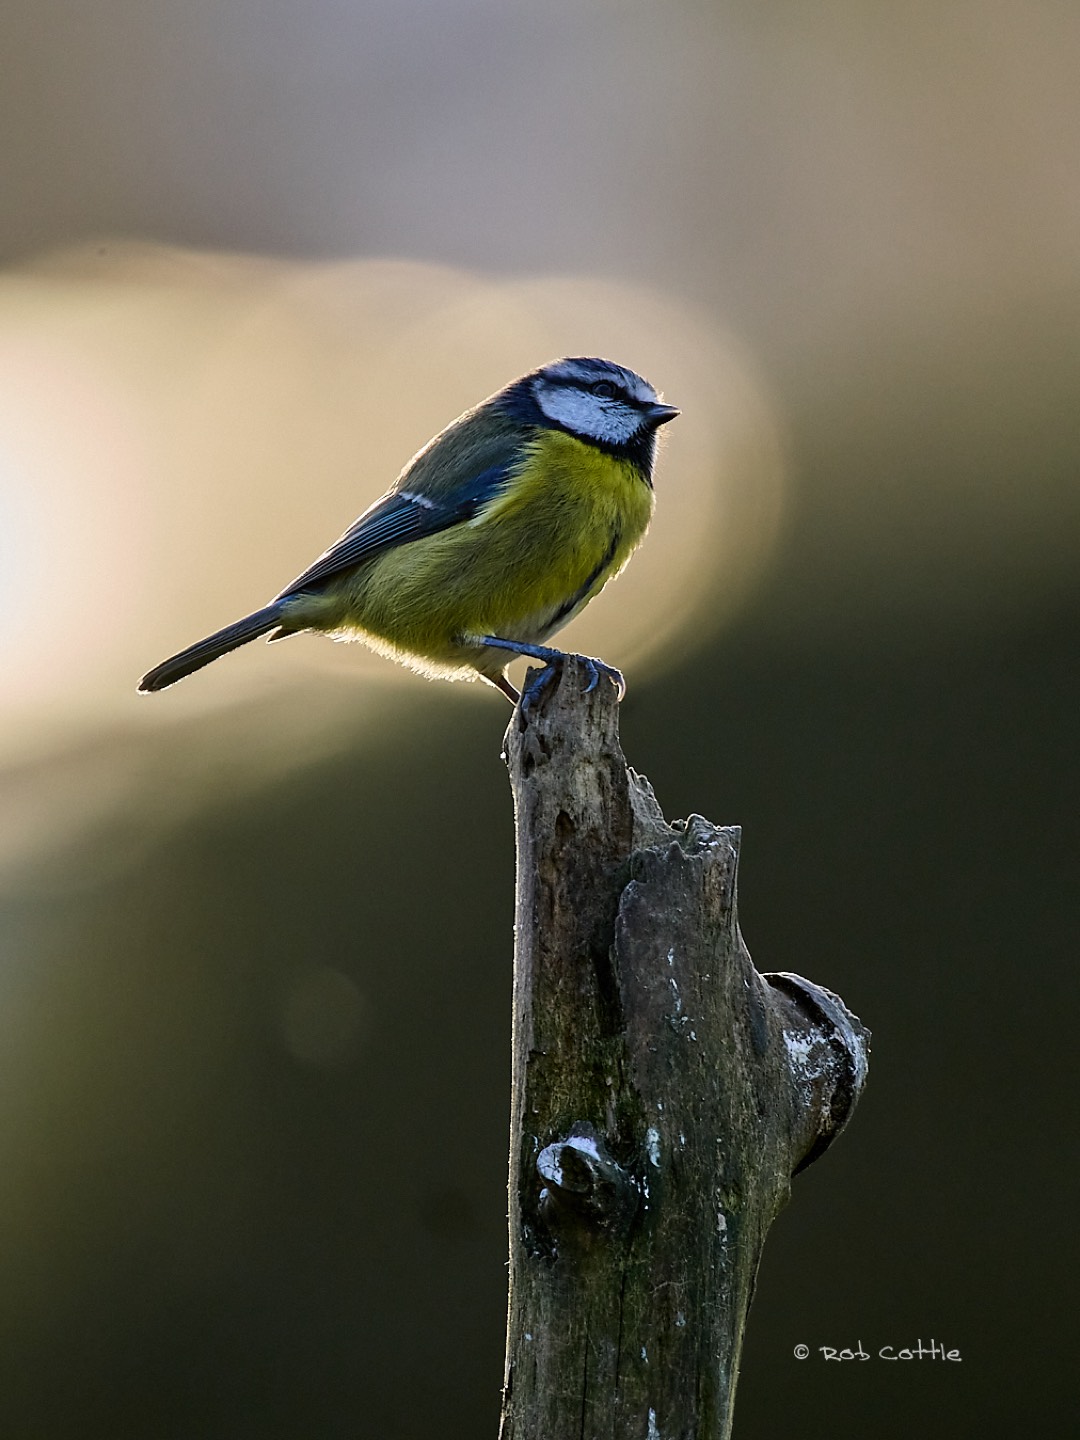
He is a huge advocate of local species and capturing them in a new light, conveying that all wildlife is interesting and not just the iconic or the cuddly. People become more engaged if they feel that nature and photographing wildlife is obtainable and accessible without spending huge amounts of time and money travelling.
Most good nature photography requires patience, concentration and thought rather than technical knowhow or equipment however OM SYSTEMS has put the fun back into his photography (or ‘funography’) with their robust, lightweight and innovative cameras.
Rob has appeared in various photography magazines, books, exhibitions and is a contributor to the Remembering Wildlife series of books which raises much needed funds for conservation. He also sells prints, talks a bit, scribbles a bit and runs workshops.
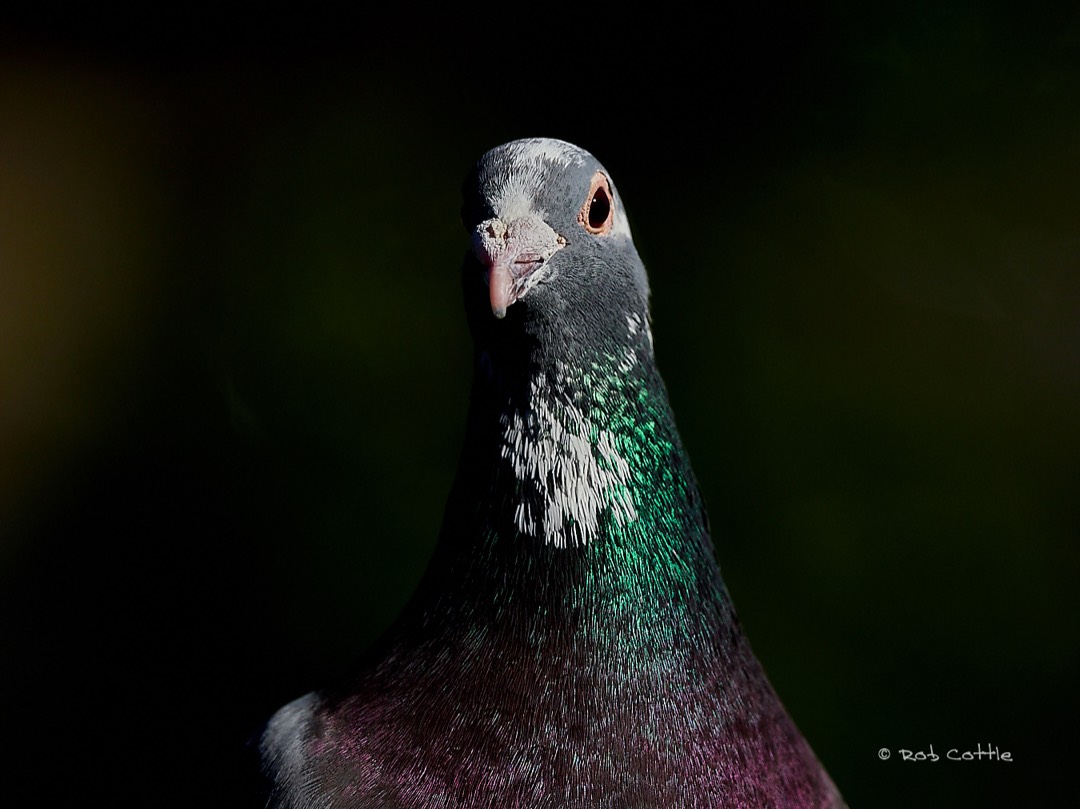
Get in touch whichever way you want, email, contact form on website, direct message, carrier pigeon....
rob@robcottleimages.co.uk
Gear
Olympus OMD OM-1 mk2 and a seldom used EM-1 mk1
Olympus 150-400 f/4.5 pro, 1.4x and 2x converter, 9-18mm, 12-100mm f/4 pro,
40-150mm f2.8 pro, 60mm macro and a Samyang 7.5mm fisheye.
Olympus 8 x 42 PRO Binoculars and Olympus LS-P5 audio recorder