Here you will find an ever increasing range of articles covering technique and tips on using our cameras and lenses.
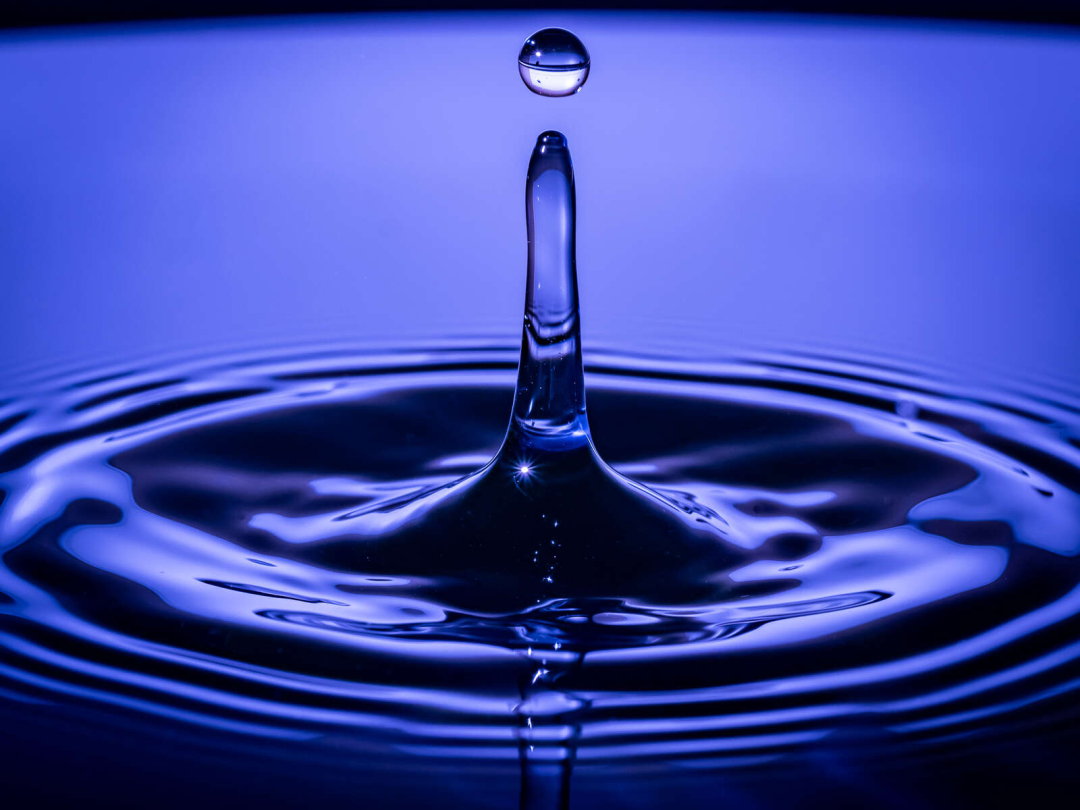
If you're looking for a creative activity that you can do indoors, capturing water droplets is a great way to practice your macro photography!
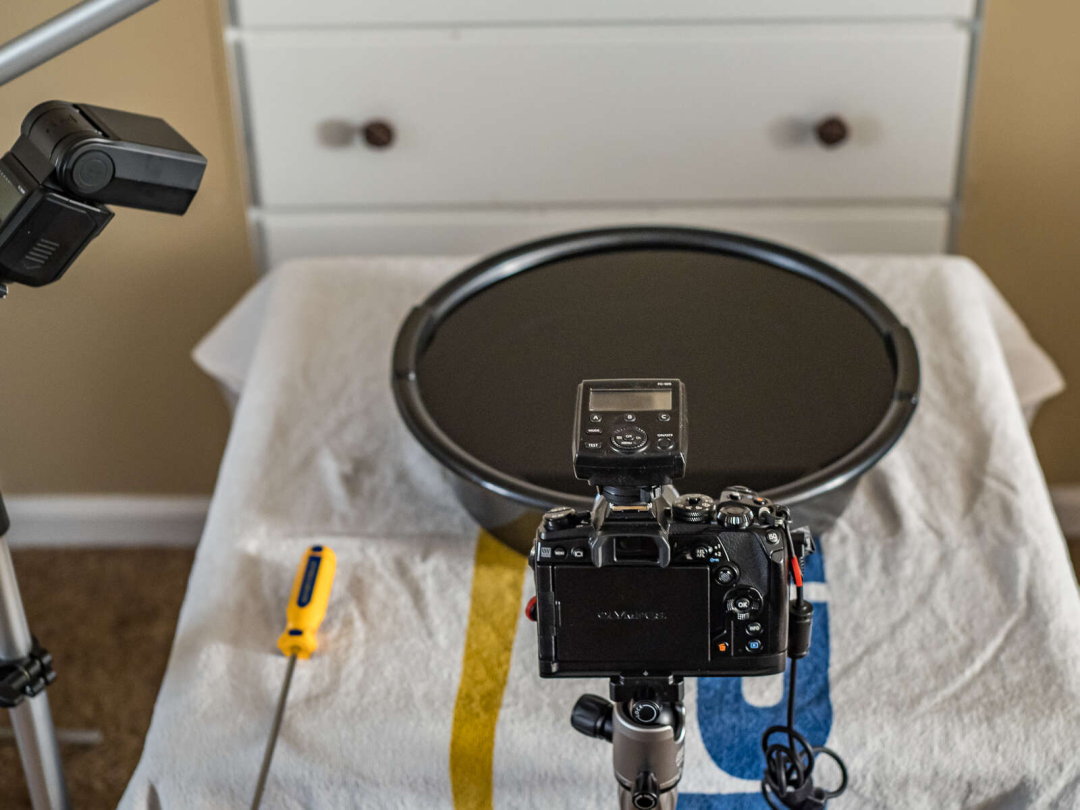
For my water droplet photos, I'll use my E-M1 Mark III and M.Zuiko 60mm F2.8 Macro lens. I also use the FL-700WR flash and FC-WR wireless commander. On my light stand I added a reflector arm in order to hold the eyedropper during shooting, as well as an Olympus remote release for my camera.
To try this at home, I recommend gathering the following:
- Camera
- Lens (preferably Macro)
- Camera Remote
- Cable Release
- Off-Camera Flash
- Tripod
- Light Stands
- Eyedropper
- Pan of Water
Getting Started
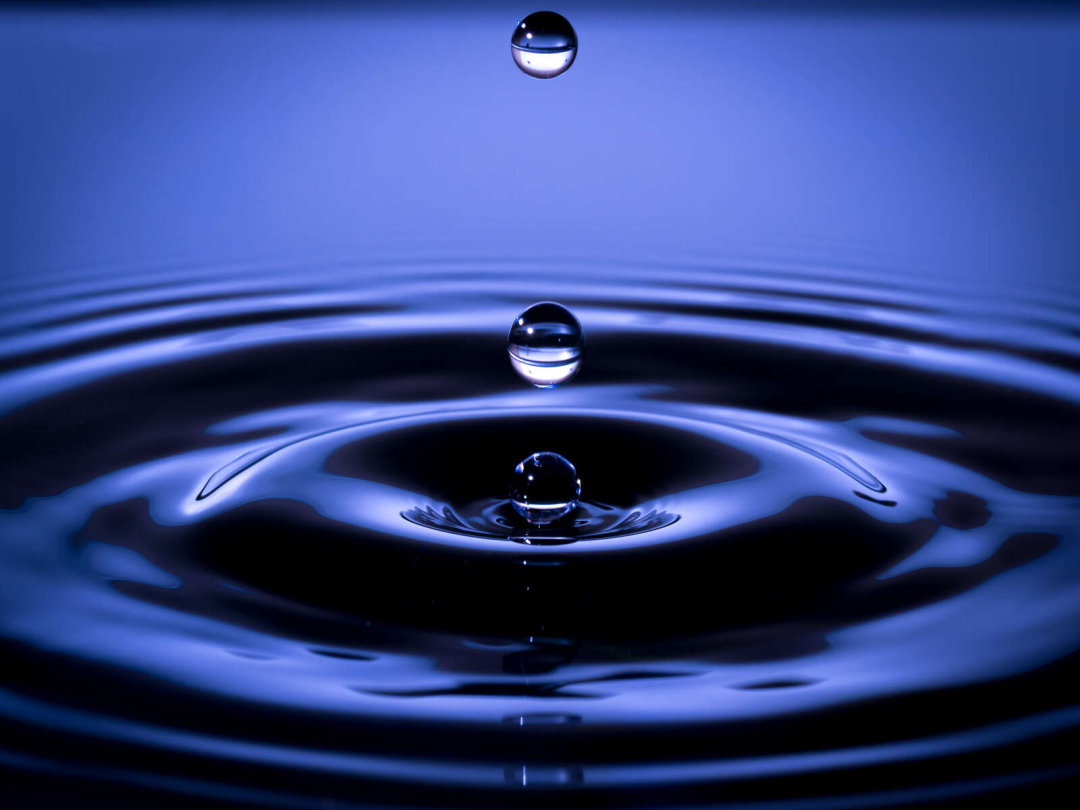
Capturing water droplets is something that I feel is very open to interpretation. In other words, it is really in the eye of the beholder as to what looks best for your final captured and edited image. No two images will ever look the same!
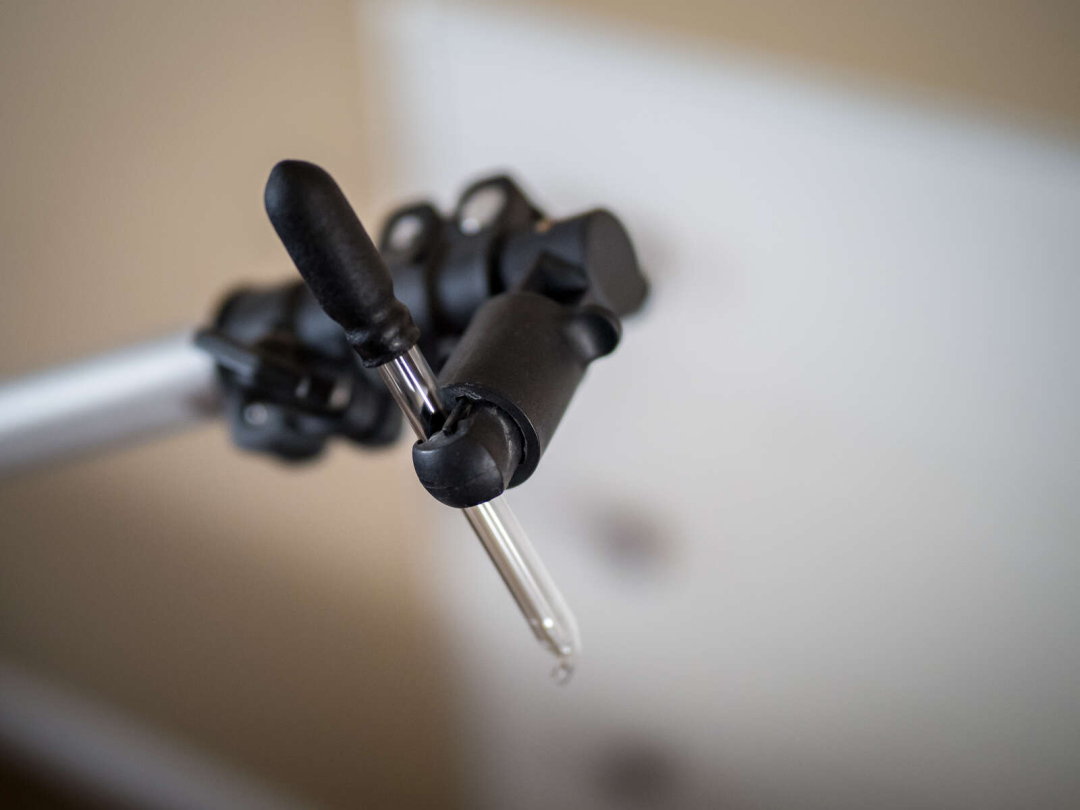
First get yourself situated with water in your pan and all of your gear setup. I use a reflector holder arm in order to secure my eyedropper above the pan of water. This gives me the ability to hold the remote camera release and also the eyedropper at the same time.
Settings
I like to shoot in Manual, setting the shutter speed to sync with the flash at 1/250 seconds. Then, I'll set my lens aperture at F11, in order to get a nice deep depth of field. Lastly, I'll set my ISO at 400.
After placing your speed-light to the left of the pan on a second light stand, try a few test images to get the right flash settings. For this shoot, I settled on 1/4 power on my flash which was also set to manual and controlled with my Olympus flash commander unit.
Capture
This is where “trial and error” comes into play. While dripping water into the pan, press the shutter release and begin capturing your images! You will soon get the hang of when to press your shutter release.
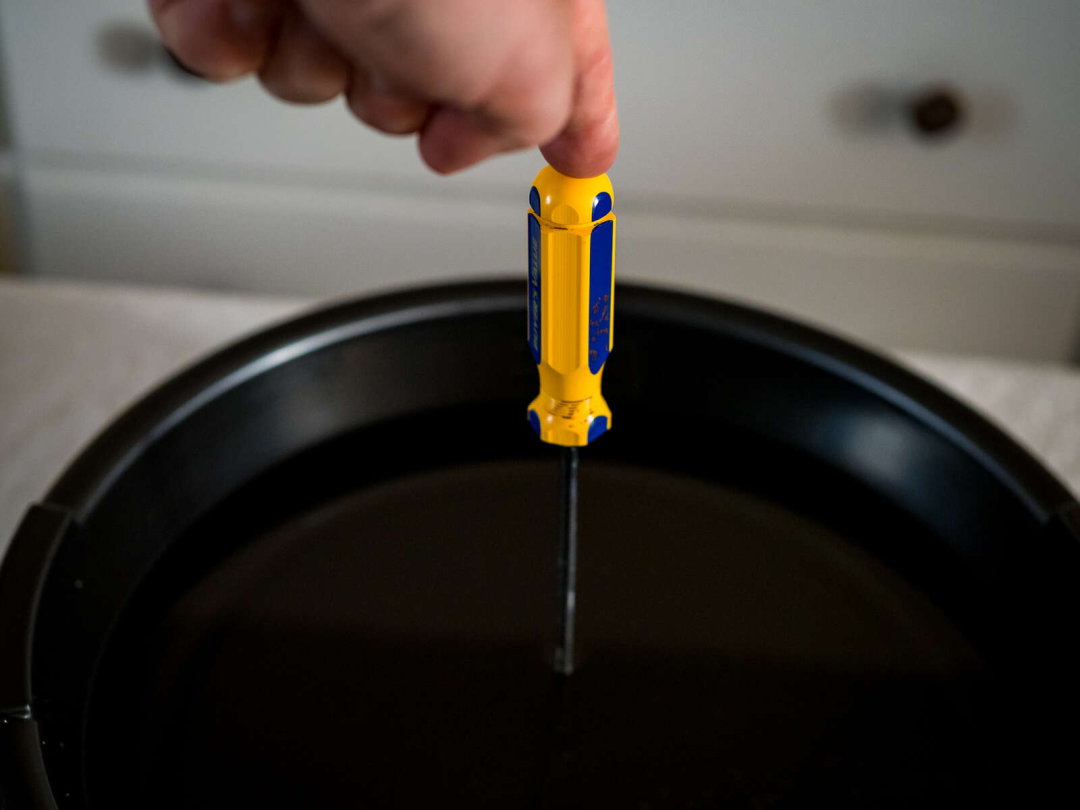
For focusing, I initially set my camera for single AF, placed a screwdriver in the pan where the droplets would be and focused on the screwdriver. I then reset the camera to Manual Focus and took my images! You don’t want to be in S-AF when shooting your water droplets, otherwise your camera will re-focus on each shot which and yield an out of focus image.
You can also try using Pro Capture Mode, to help you capture additional frames that you may have missed.
Experiment
Experimentation is key to capturing water droplets!
Try different color by utilizing food coloring or setting your camera to tungsten White Balance (incandescent) in order to get a more blue color. You can also experiment with different types of liquid – like milk, oil or anything in between!
Regardless of what you capture, it is sure to be a fun shoot and a great way to practice your technique.
