Here you will find an ever increasing range of articles covering technique and tips on using our cameras and lenses.
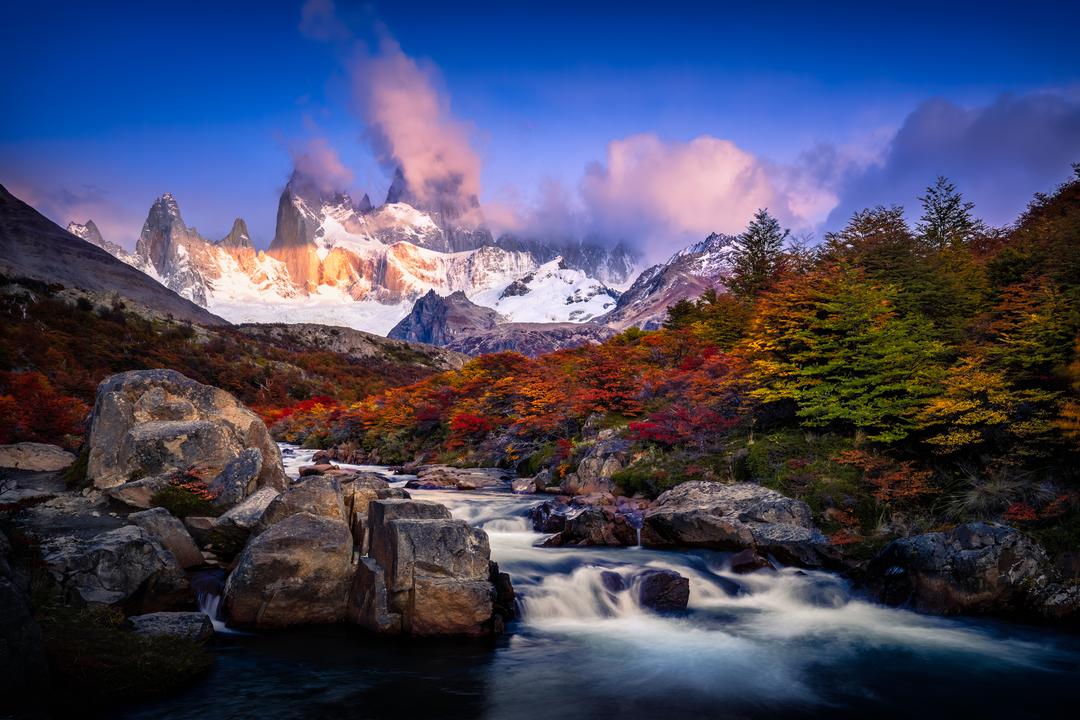
My timing for this trip was intentional. What is our spring here in the Northeastern United States is autumn in Patagonia, which means you get the opportunity to see some layers of snow in the mountains with the autumn foliage colours in the foreground. The dimensions of landscape shots are always enhanced when you can capture nature’s elements that add complexity and layers to the images.
For this trip I took the OM SYSTEM OM-5 camera with the goal of using the Hi-Res mode, both handheld and with a tripod. The OM SYSTEM OM-5 has the 50 MP handheld Hi-Res mode which gives me up to 50 megapixels for a RAW image. This allows me to capture multiple images that I can then process to bring out all the details of the shot.
I can also use the Hi-Res mode with the tripod, increasing the image to 80 megapixels.
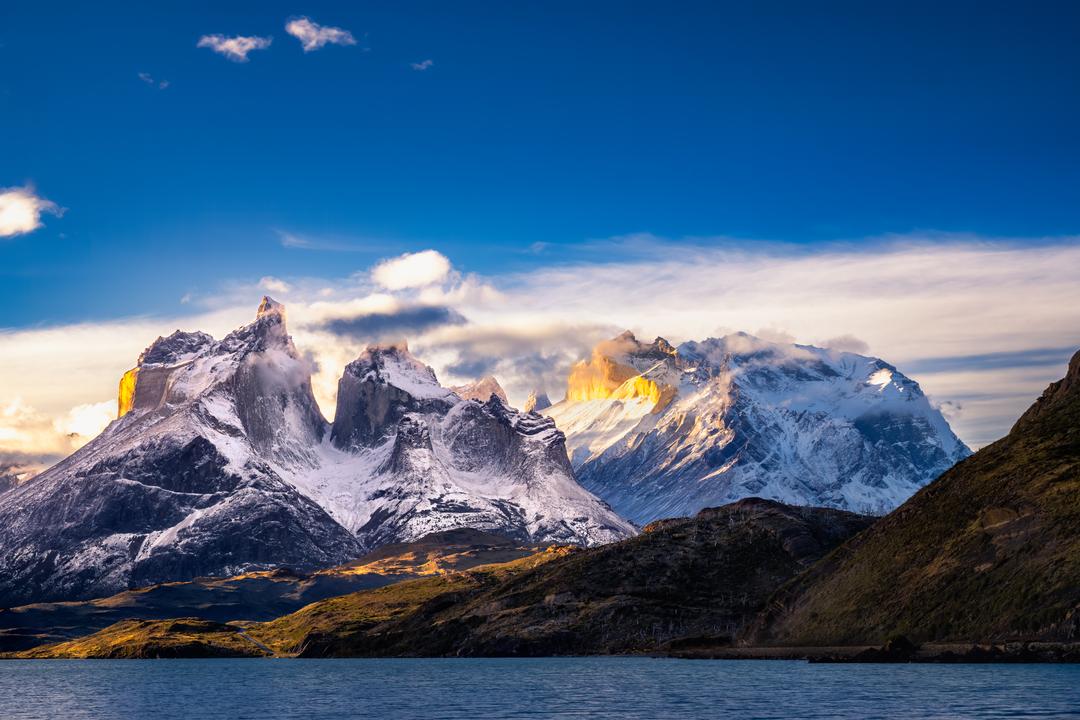
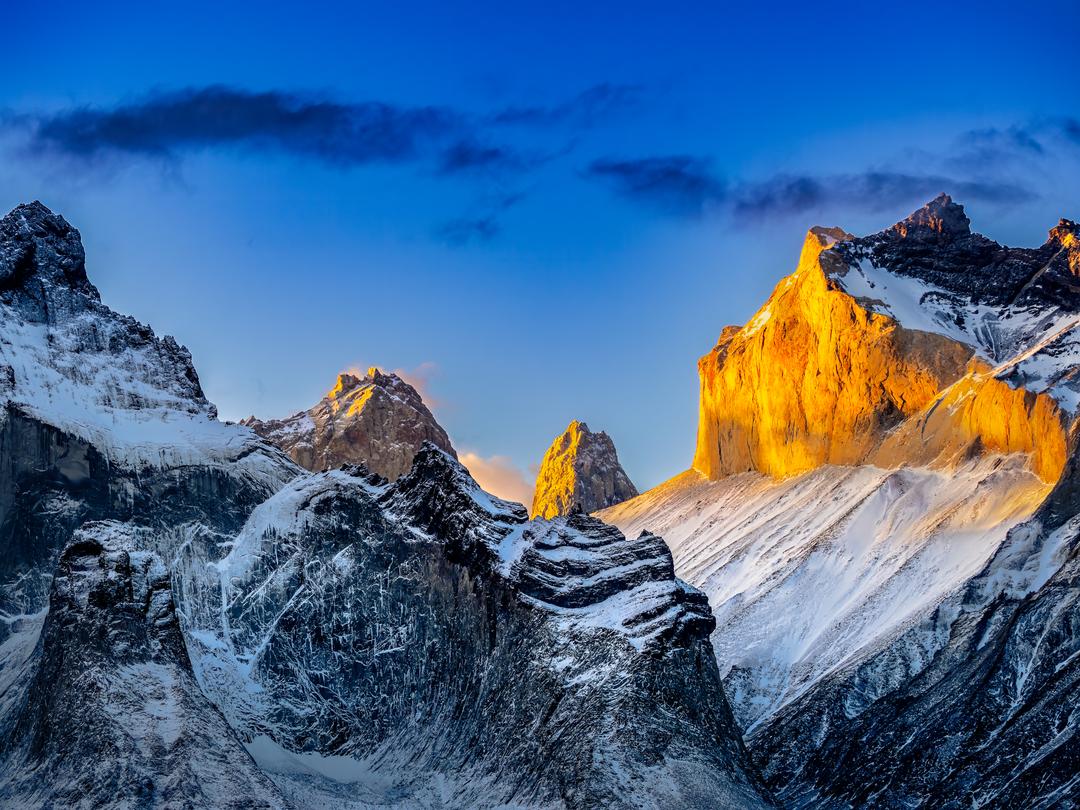
WHY I SHOOT IN HI-RES
As an outdoor photographer, I shoot in Hi-Res because it gives me more data to work with. Hi-Res increases the image resolution (50 MP handheld and 80 megapixels using a tripod). Hi-Res also improves fidelity, increases the clarity and the sharpness of the image, and enhances the colour. Hi-Res has less noise to adjust for in post-processing.
I shoot outdoor landscapes in Hi-Res as these shots typically have less movement. Hi-Res also gives me more flexibility in post-processing, as well as higher quality for large prints. I am also able to capture better dynamic range and the larger file size gives me additional latitude when cropping.
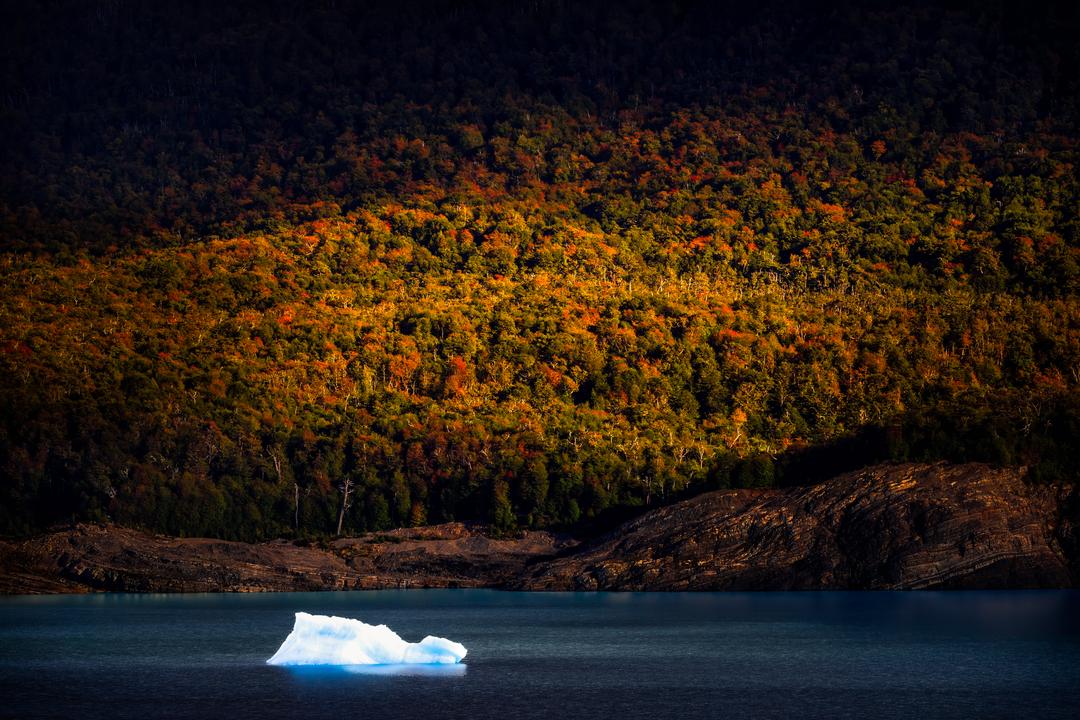
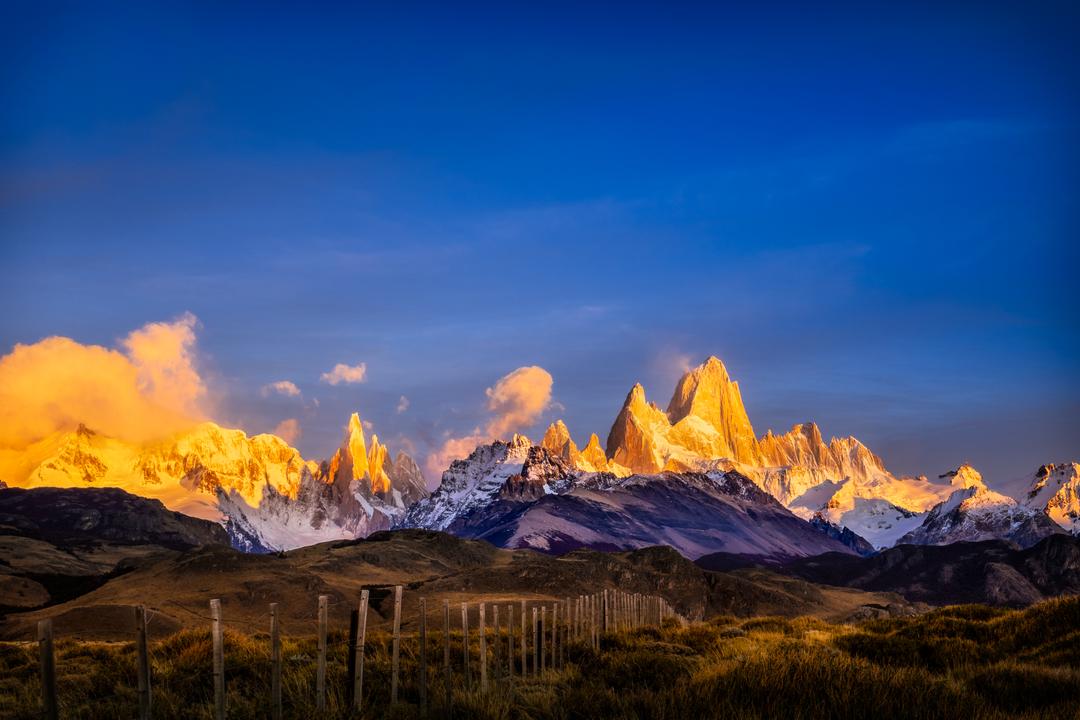
WHEN TO USE HI-RES
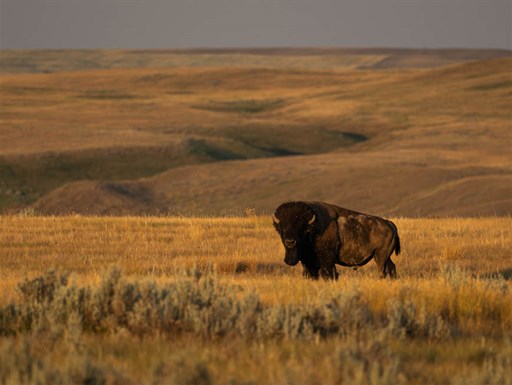
Hi-Res is great for those once-in-a-life-time shots and is good for typically static subjects (without fast moving elements). Hi-Res is not compatible for shooting moving targets like animals and birds in motion, and works best when there is more dynamic range in your shot.
Shooting in hand-held Hi-Res allows you to capture more details without the use of a tripod, understanding that Hi-Res with a tripod does increase the image resolution even further from 50 to 80 megapixels. There are benefits to both and when you can, using the tripod gives you more to work with in the end. Not every situation allows for a tripod and fortunately, you have an option available whether you can use a tripod or not.
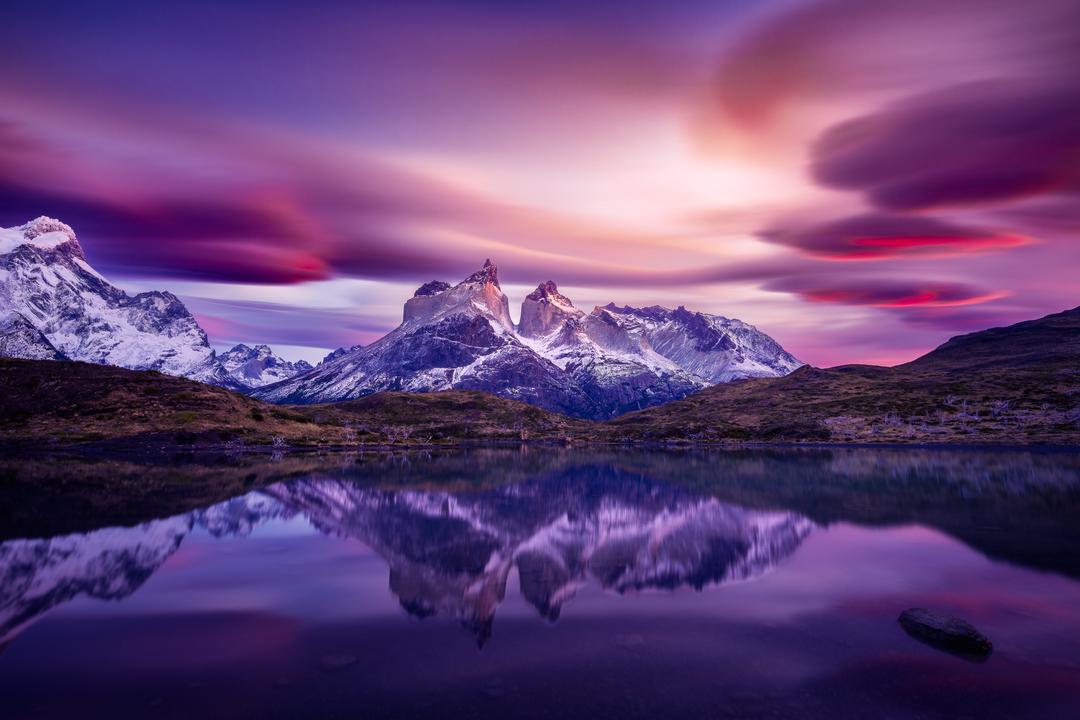
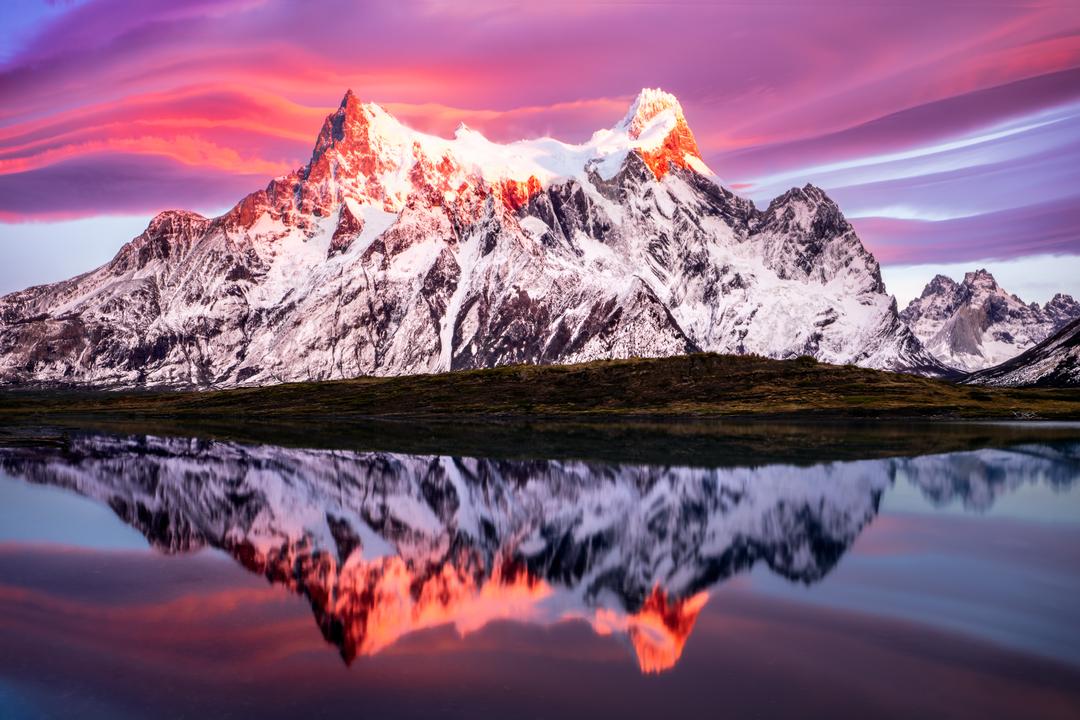
MY SETUP
On an epic trip like Patagonia, I pack for both handheld and tripod options. The good news is that with the OM SYSTEM OM-5, the access to the Hi-Res mode is easy to find on the menu. On Shooting Menu 2, I select the first option (Hi-Res) and then I set it for either handheld or tripod, depending on my current situation.
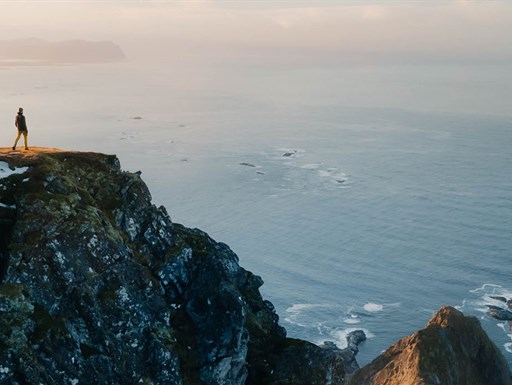
I look for good composition and factor in the light. Images like these require intentional planning and can easily be impacted by weather. One aspect of my trip to Patagonia (or for that matter landscape shots at sunrise in general) is that you need to plan ahead. That means getting up well before sunrise (in Patagonia you need to be getting up at 2:30 in the morning). For these shots we hiked in pitch black conditions to get to the planned location before the sun came up. Some of these morning hikes involved a pretty steep incline and it could take between 2 and 3 hours to get to the shot location. For this type of location, you need to make sure you have the proper gear, including a head lamp and good hiking shoes. You also need to dress for the weather (which can change without much notice). Additionally, a guide or someone who knows the terrain is important to get you to the best locations for the shots.
Lastly, as in all landscape photography, it is important to remember that shifting as little as a couple of metres in one direction or another can completely change the composition of the image. I often capture similar images based on my intended composition. Adjusting my position can change the image significantly.
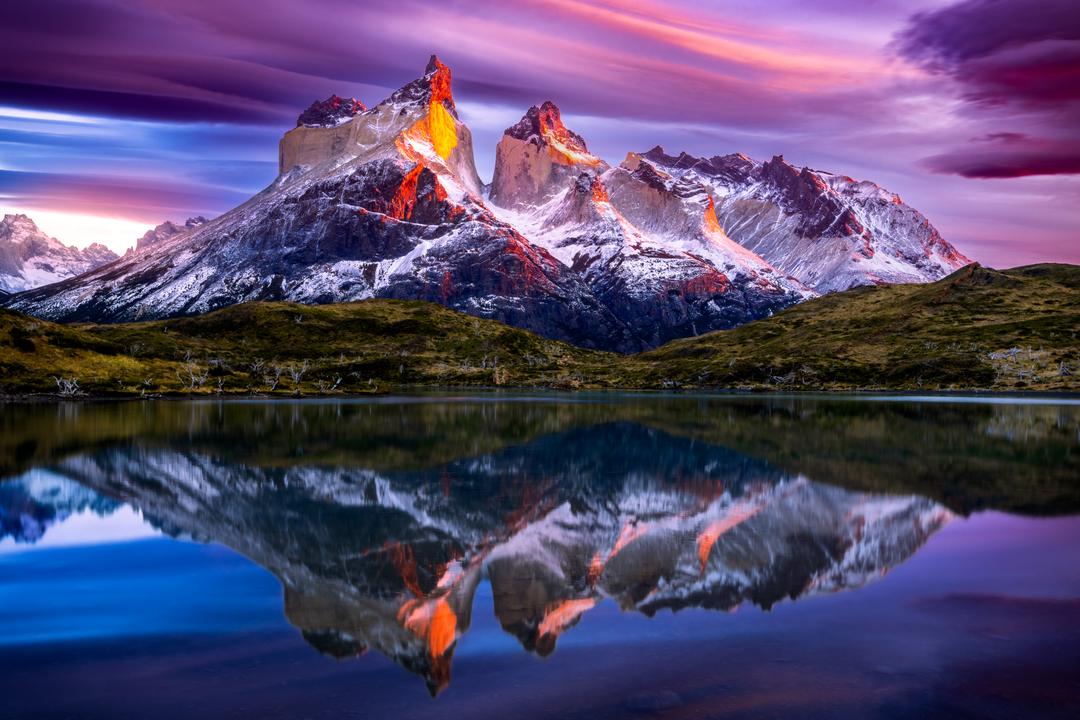
THE RESULTS
When using the Hi-Res mode you can shoot either RAW or JPEG. I always shoot in RAW because it gives me more flexibility in post. When I am editing during post-processing I prefer to take some time to achieve the results I want and JPEG does not give me the same amount of flexibility that RAW does.
These images were processed through Photoshop / Lightroom initially and then I used additional software tools to bring out the full fidelity of the image.
A FEW OTHER KEY THOUGHTS FOR THIS TYPE OF HI-RES PHOTOGRAPHY.
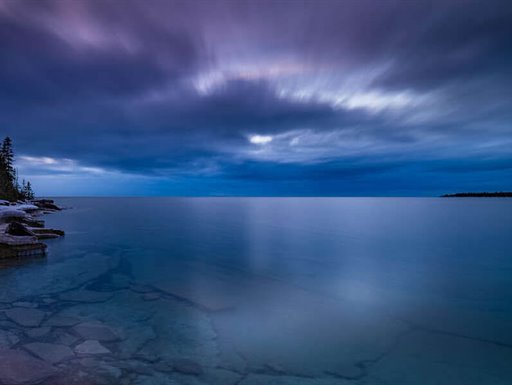
In the two images here, I wanted to point out how changing the shot to highlight a feature (the light reflection) requires me to take the broader image (25 mm) and shift the focal length to 100 mm to achieve vignetting of the key element of the image.
