Here you will find an ever increasing range of articles covering technique and tips on using our cameras and lenses.
10 tips to help you capture the world by Peter Baumgarten
1. Research first. Shoot later.
Know your location before going. Research people’s images online. Check the weather and study satellite imagery of the area. The more you know, the more successful your shoot will be.
2. Learn the light.
You could spend six hours in the morning observing how the light hits a location, then six hours at the end of the day. Use filters and exposure bracketing to control light and your image.magery of the area. The more you know, the more successful your shoot will be.
3. Take your time.
Patience isn’t just a virtue; it’s critical. Get to your location well before the good light, and wait around to see what the light does to your subject later in the day. It could look totally different.
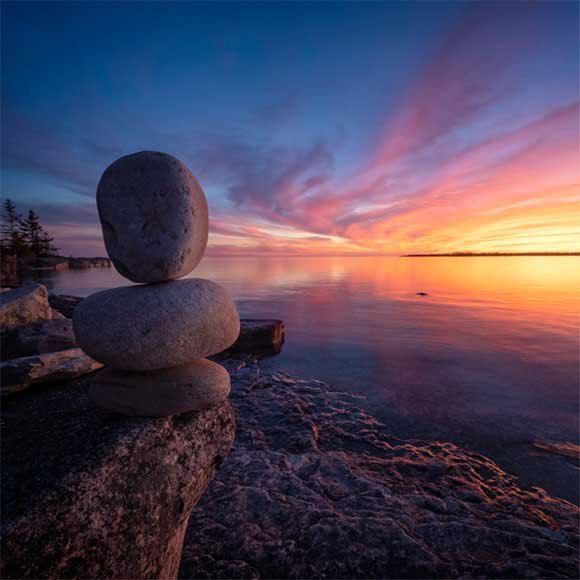
4. Work the scene.
While waiting for the ideal light, look around. Work your subject’s angles. Move around and change perspective. Sometimes your best shot isn’t the one you planned.
5. Think extreme.
Shoot with wide-angle lenses and telephoto lenses. You could get a surprising shot. Take photos from above your head, or shoot from a lower position to capture unusual angles.
6. Look around.
Focus on your intended subject. But look elsewhere. Just behind you, or at your feet, or around the bend of a trail could be an amazing shot. Know what’s nearby to get the most of your location.
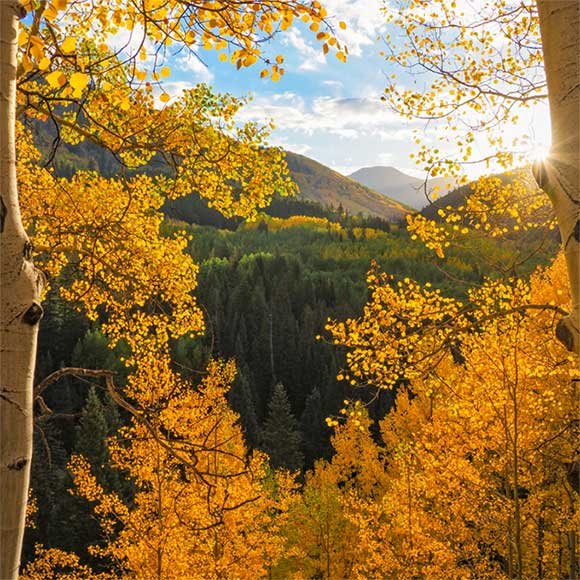
7. Go RAW.
Shooting in RAW format provides the highest level of quality and gives you the most control of how your final image looks. Plus, it’s easier to recover shadows and highlights in post-production.
8. Rehearse your shot.
Arrive early and test. Try different ways to compose the scene, and take plenty of test shots before the good light comes. You’ll work more efficiently.
9. Explore your backyard.
Not everyone can afford to travel to exotic landscape locations. There may be dozens of places to photograph dramatic landscapes just a short drive from your home.
10. Selectively shoot.
What you don’t include in the frame is as important as what’s seen in the frame. Eliminate anything distracting to a viewer’s eye.
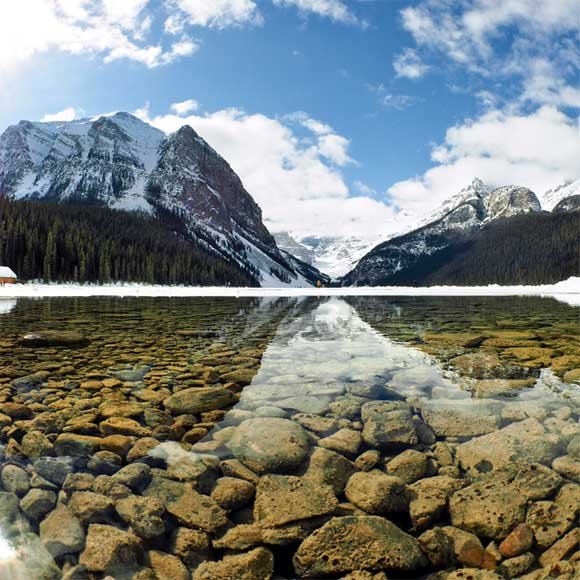
Tips to help you master the technical side of landscape photography
Peter Baumgarten has spent decades professionally shooting landscapes. Here are a few of his technical tricks to help you make the most of the advanced technology in the E-M1 Series.

1. Use aperture priority mode
As a landscape photographer, some of your greatest creative control involves the aperture setting you choose, so start by shooting in Aperture Priority Mode. This allows you to control your depth of field within the scene. Use the preview button to confirm your depth of field before shooting.
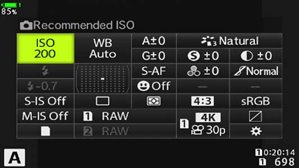
2. Shoot at a low iso
A lower ISO will help guarantee the cleanest possible image. A corresponding slower shutter speed is not usually an issue for most landscape scenes, but if you do have action to freeze, bump up your ISO to 400 or even to 1000 to achieve a faster shutter speed.
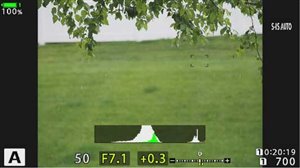
3. Use the exposure compensation dial and histogram.
Control the light by keeping your finger on the exposure compensation dial. The beauty of a mirrorless camera is that you can easily see your final exposure before you even press the shutter. Enabling the histogram is also a great way to check your exposure. It’s also good practice to bump up your highlights even if the image looks a bit overexposed. They are easy to recover when you post-process the image and will prevent too much noise within the shadow regions of the photo.
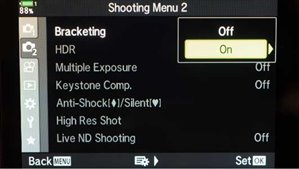
4. Bracket your exposure
In tricky lighting situations where there are large differences between the highlights and shadows, use exposure bracketing. The camera will capture multiple images of the same scene at different exposures, allowing you to choose the best option later.
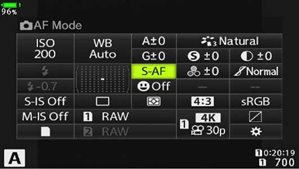
5. Control your focusing
Use the single autofocus point (S-AF) to better control where your lens is focusing and ideally choose a point approximately one-third of the distance into your scene. For even greater control, switch to manual focus and enable the focus-assist features (magnification and focus peaking).
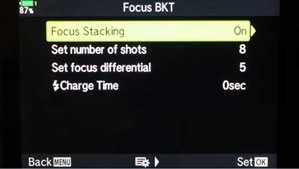
6. Use focus stacking
For situations where your foreground subject may be a mere few inches from the front lens element, enable focus bracketing and stacking. This will allow you to capture extreme depths of field that would not be possible with a single shot. It really opens up some creative potential in your compositions.
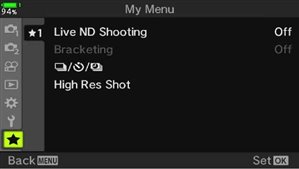
7. Program the custom menu
Program the custom menu to include some of your more frequently used features. This can be a real timesaver out in the field. Focus Stacking, Time Lapse, Live ND, High Res Mode and Bracketing are some of the features that come in handy as a landscape photographer.

Peter Baumgarten’s powerful work takes you places even while you’re sitting still
The best landscape photography doesn’t just capture natural beauty. It transports you. No one does this better than Peter Baumgarten. After all, he lives on an island in Ontario, Canada, surrounded by awe-inspiring scenery. Peter specializes in seeing and experiencing nature in ways most people miss. His landscape and wildlife photography has been published many times over, and he’s spent decades as a dedicated teacher leading photography lectures and workshops. Peter loves wilderness camping, canoeing and kayaking. Through it all, he’s never without his Olympus camera.
Peter currently shoots with an OM-D E-M1X and is thrilled he can capture his photography without being weighed down by heavy gear. “I don’t want a camera that gets in the way of my creative vision. I want one that is an extension of that vision. Every time I pick up one of my Olympus cameras, it becomes part of me as a visual artist.”

