Here you will find an ever increasing range of articles covering technique and tips on using our cameras and lenses.
Imagining the smallest of subjects on a very large scale and making what is often hidden from our naked eye visible: that is the fascination of wildlife macro photography.
If you've ever tried your hand at photographing at a magnification ratio of 1:1 or higher, you will know a few factors that are of great importance in macro photography.
In the search for increasingly more detail and stronger magnification, it was exactly these factors that made me switch to the OM SYSTEM MFT system after over 10 years of convincing photography with a full-frame (FF) DSLR.
In my current OM-D E-M1 Mark III I have now found the perfect camera for me for macro photography, and have become a fully converted OM SYSTEM disciple.
What made me switch from DSLR full-frame to OM SYSTEM MFT?
For me personally, macro photography means discovering a hidden miniature world.
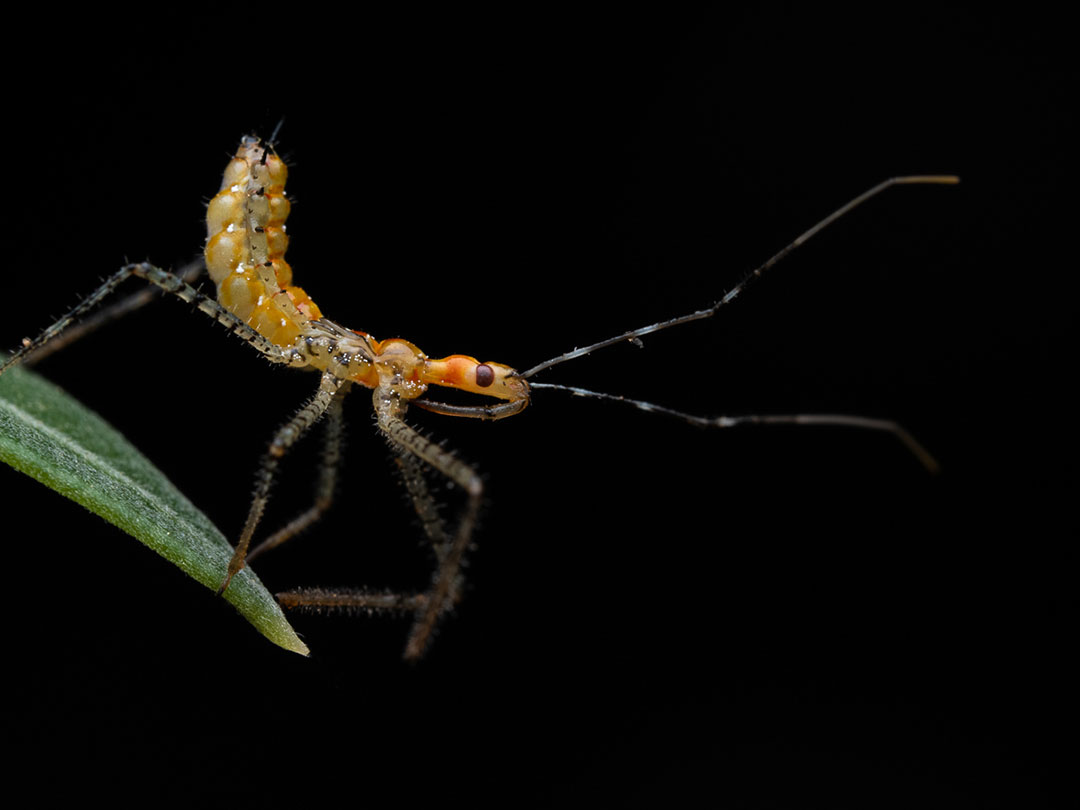
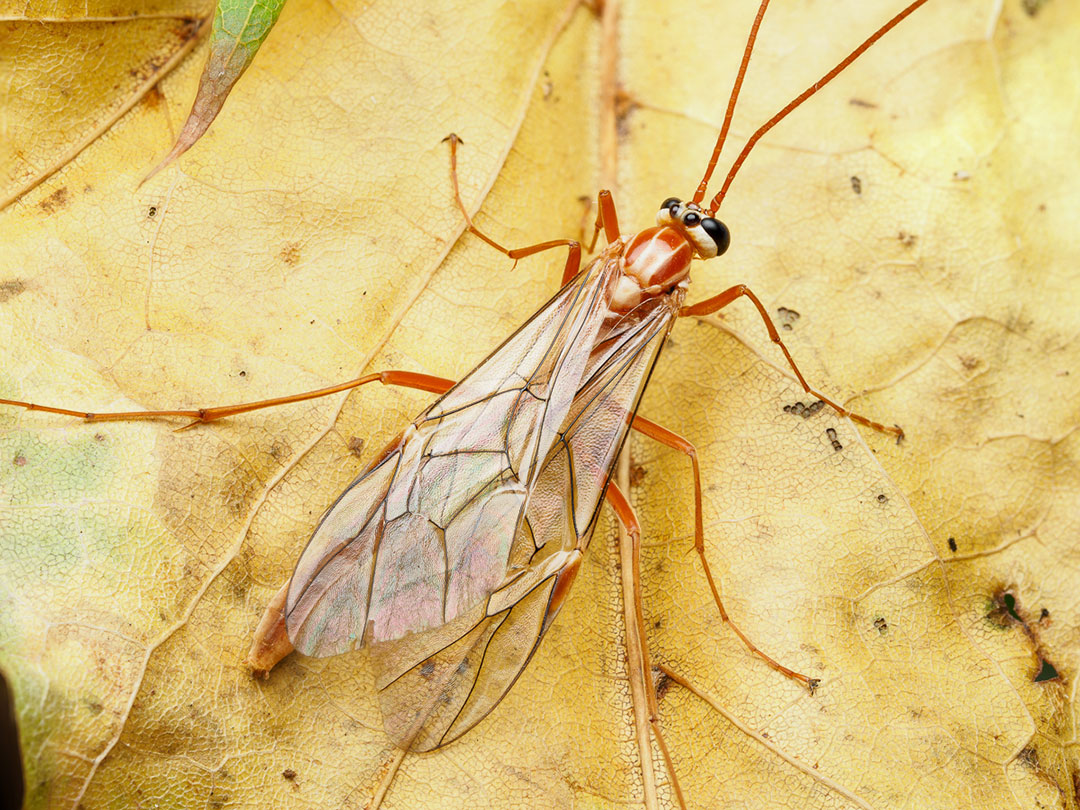
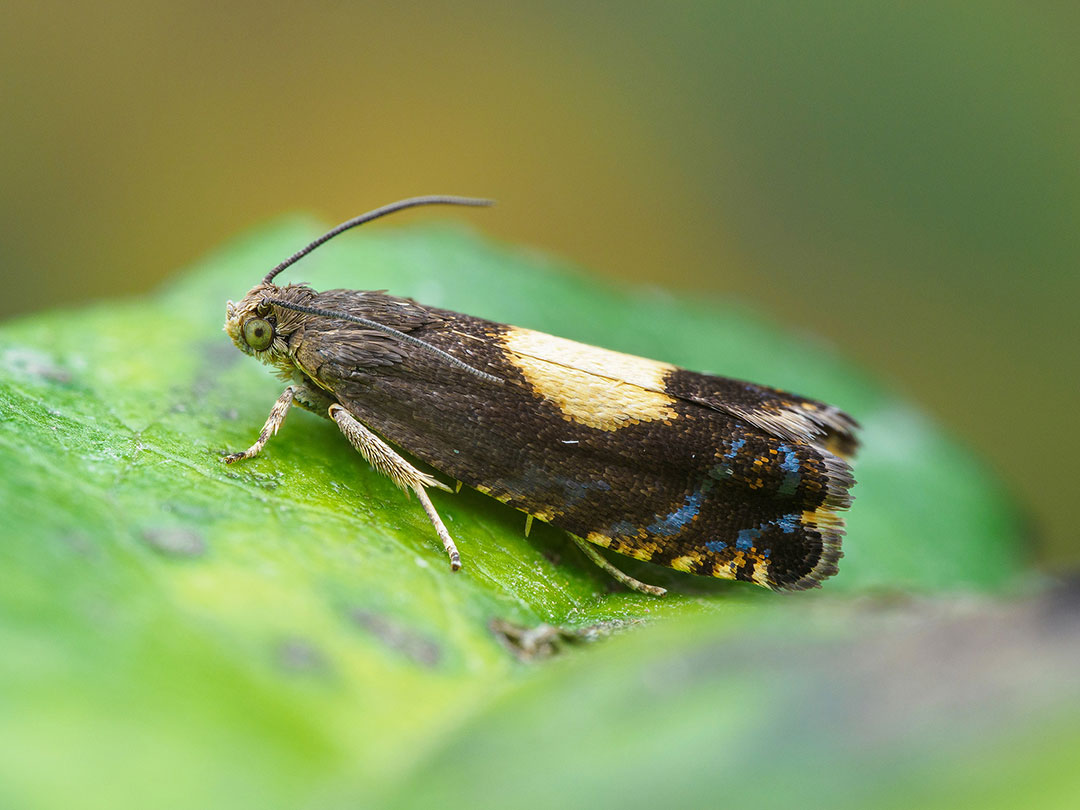
I specialize in photographing the smallest spiders and insects.
Often invisible to the naked eye, the macro lens opens up a fascinating world full of colours, textures and shapes. It has become an addiction for me to find and photograph new species. In doing so, I try to give character to my wild and lively subjects and show a side of them that hopefully turns disgust or prejudice into fascination, admiration or respect.
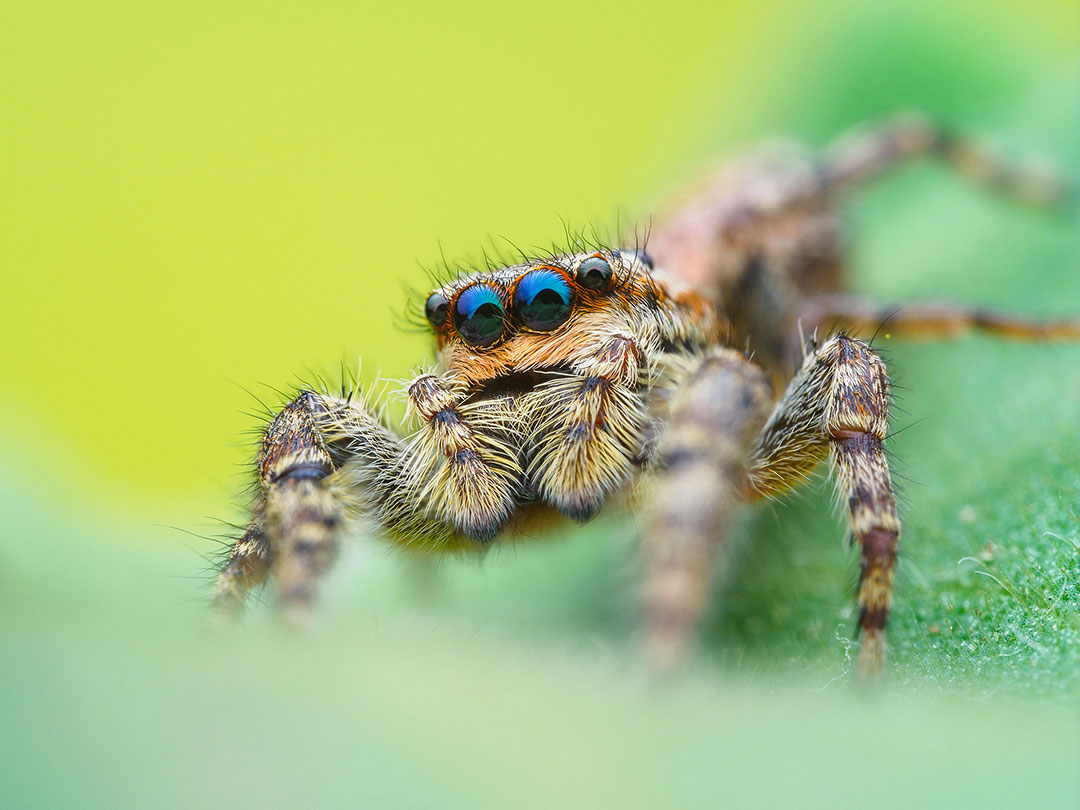
I photograph my subjects exclusively freehand (i.e. without a tripod) and with flash.
The difficulty I have is achieving the highest magnification possible and taking a crisp photo with great depth of field at the same time, all while the subjects are crawling and jumping around. Since magnification, aperture, depth of field, shutter speed, etc. are directly related or inter-dependent, it is rarely possible to achieve satisfactory results with all factors, especially without the full-frame DSLR. The much-discussed shallower depth of field that people love for portraits is more of a disadvantage in macro photography.
For example, to get a spider in focus throughout at a magnification of 2:1, I had to use focus stacking on my old setup to combine multiple individual shots into one image with a greater depth of field, and this had to be done later on during post-processing, which takes up more time. If the subject is also moving, it becomes an almost impossible undertaking. The fewer photos per scene the better here.
However, due to the micro-four-thirds format of the OM SYSTEM cameras, the 1:1 image of full-frame is now equivalent to 2:1 on MFT.
This in turn means I get significantly more depth of field in a single photo with similar image detail, which means less work and time for me while shooting and in post-processing. It also means less risk of missing fascinating scenes and situations. After all, if the subject moves during the shot for a stack, it is often no longer usable.
Simply put, MFT offers 2x magnification compared to full-frame.
At the same time, you have a lot of flexibility when it comes to magnifying the subject and cropping the image.
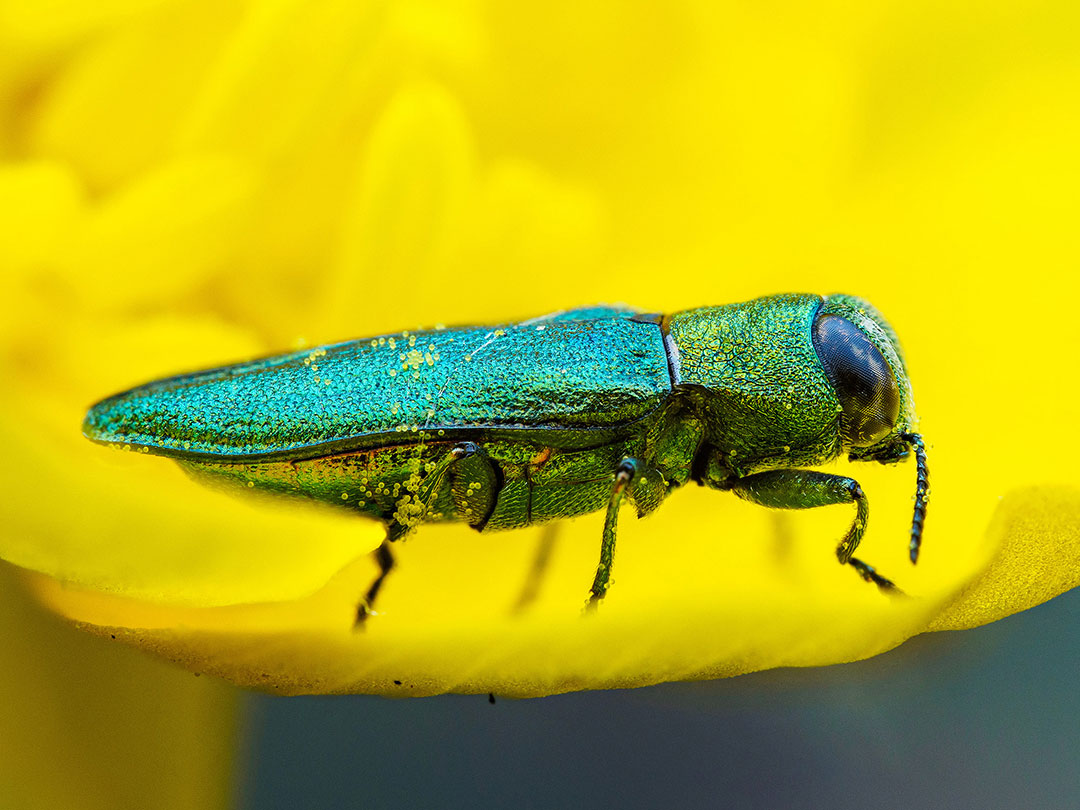
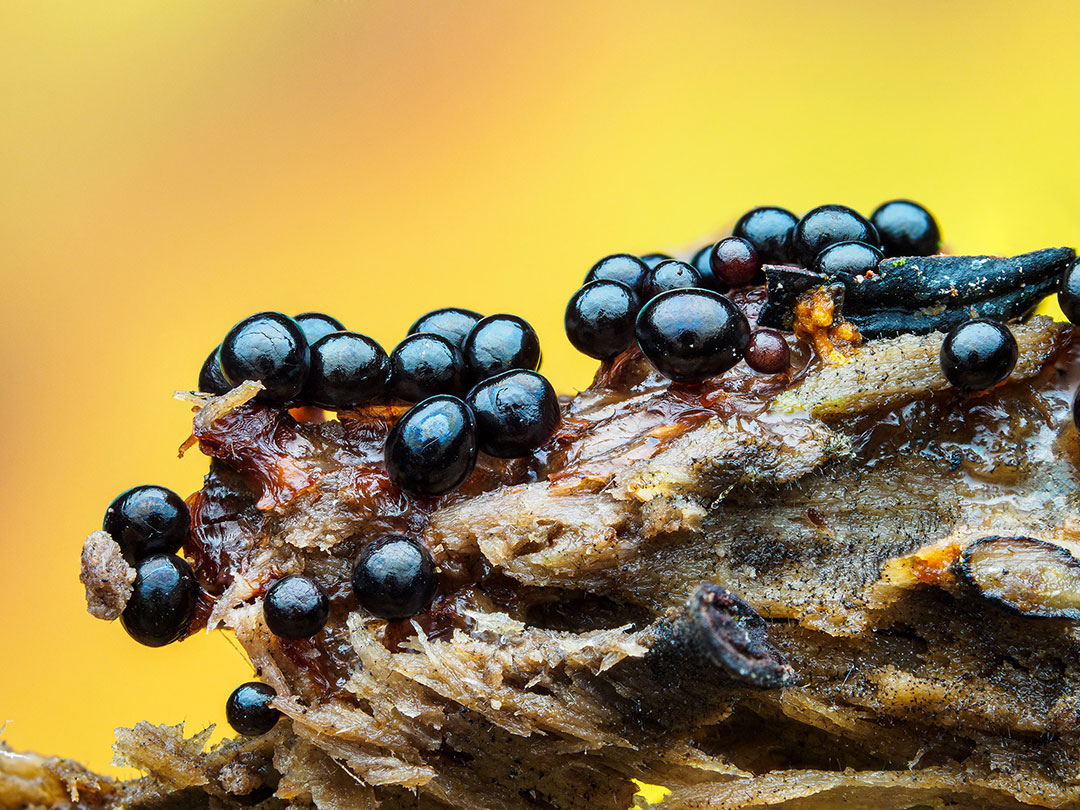
In addition to this aspect, which is the most important for me, the compactness of the camera and functions, like the High-Res mode and the in-camera focus stacking, convinced me even more.
The icing on the cake was the Starry Sky AF for astrophotography, which had always appealed to me, the extreme image stabilisation and the Live-ND filter, which gives me incredible flexibility in applications beyond macro photography, even without extra accessories.
I think the design of the OM-D E-M1 III, with its retro look yet modern inspiration, is also extremely chic.
How much weight you carry makes a big difference in the wilderness, and the smaller and lighter OM SYSTEM lenses make a noticeable difference in weight. The weather resistance of the OM SYSTEM is also extremely useful and I'm curious as to which new sides I'll discover on my camera, like the Pro Capture mode, which sounds promising especially for moving subjects, but which I haven't been able to test out yet.
How has photography changed with the OM-D E-M1 Mark III compared to the full-frame DSLR?
In the macro area, I certainly benefit from the OM-D E-M1 III due to the 2x crop factor.
This means that I can get really close to my subjects without accessories such as extension rings, attachment lenses or lenses with MAGNIFICATION greater than 1:1.
My setup weighs significantly less too. This means more freedom when shooting, often one-handed. So I have the other hand free to hold another flash, or to keep leaves and twigs out of the way in the thicket.
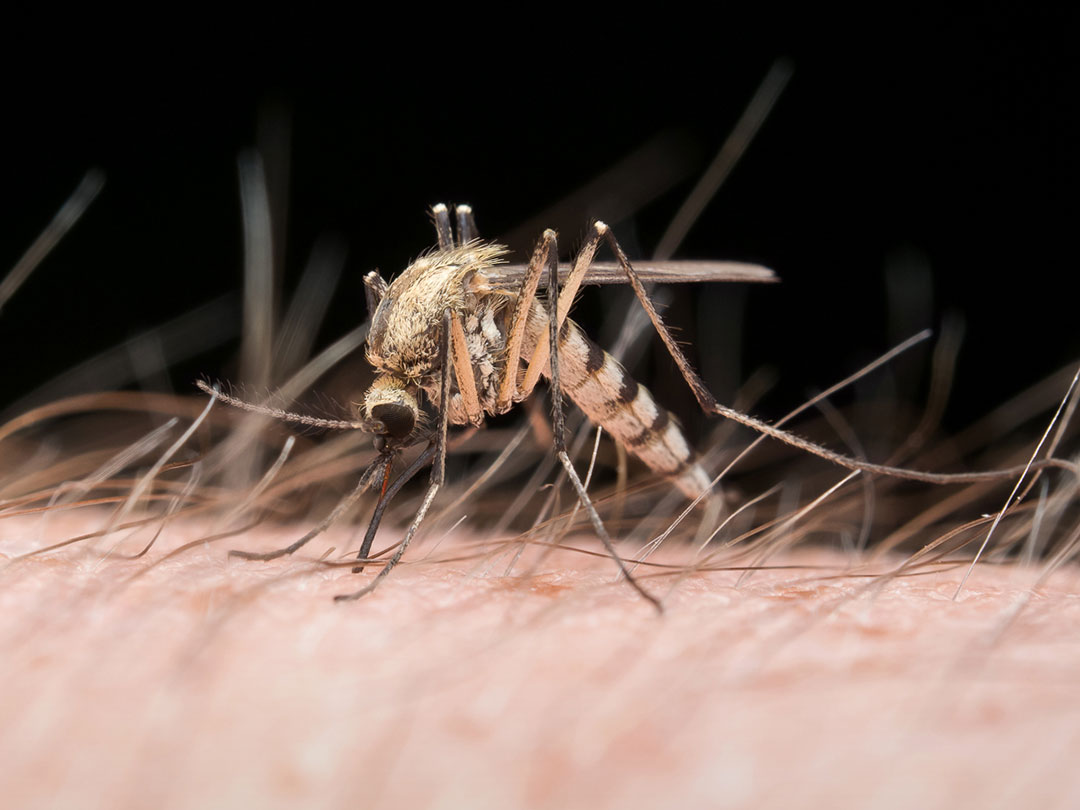
Photographing a mosquito while it sits on my free arm sucking blood there probably wouldn't have been feasible with a larger and heavier setup.
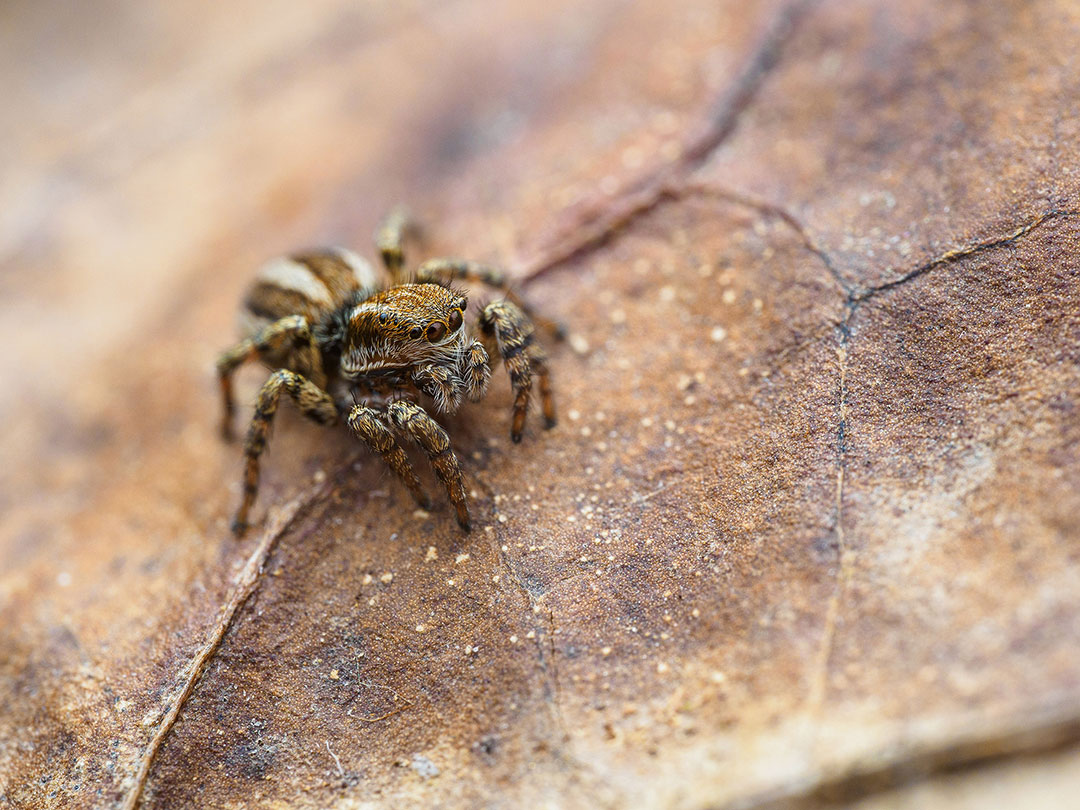
Since I'm generally used to manual focus stacking from full frame, more out of necessity, in-camera stacking gives me the ability to create my stacks quickly and easily. If desired, it can even calculate a finished single shot. I use the function when I need to go especially fast, for example with shy or very nimble spiders.
Tips for macro photography with OM SYSTEM MFT (OM-D E-M1 Mark III)
- Activating the LV extension (Live View Boost) function.
This feature ensures that the electronic viewfinder always displays a brightened, perfectly exposed image even in dark situations, making it easier to keep the small subjects in view. Since most of the appropriate exposure is already set in advance when shooting with manual settings and manual flash, it is not a problem that the viewfinder does not show the actual exposure.
- Setting for shooting scenarios
I have stored different profiles for various shooting situations with different requirements. In addition to my standard manual profile with manual settings for manual shooting, I also have, for example, my own profile for using the camera's internal stacking function. This makes it possible to switch between these profiles in a flash, without having to repeatedly change the camera's settings, which is time-consuming.
Saving battery power
- Using the electronic viewfinder and the rear display will use more power.
As a result, I turn the camera off completely when I'm looking for new subjects. I always carry a second battery to be on the safe side.
- 1:1 switch on the 60mm macro lens
The M.Zuiko 60mm macro has a small toggle switch on the side. If you turn it to 1:1 and hold it down briefly, the lens (when set as manual, which is definitely recommended for macro shots) sets itself to this magnification. You save yourself the time-consuming turning of the lens' focus ring with this 'shortcut', as it is very finely adjusted.
Tips for perfectly sharp macro photos of spiders and insects

- Manual camera settings
Using manual mode gives me complete control over my settings. At the same time, this allows me to reproduce the desired exposure with the flash over and over again. I shoot almost universally at f/8-10 with ISO 100-200 and a shutter speed of 1/125-1/250. The appropriate exposure is then controlled only by the flash intensity.
- Manual focus
I use a manual focus exclusively. This is something I got into the habit of doing in the past. I just like to have full control over every single setting – that's my personal workflow. However, the OM-D E-M1 Mark III's autofocus is so pinpoint accurate and fast that I actually use it here from time to time (in S-AF mode). Compared to the DSLR, I actually really enjoy it here.
- Using flash and diffuser
For really sharp macro photos, I recommend using a flash. This burns off at such a fast rate that it virtually 'freezes' subjects, even if they are moving. This makes the camera's shutter speed much less important than it would be without using a flash.
A diffuser, which is a conically shaped disk of translucent white polypropylene around the front lens, for example, ensures that the light is soft and illuminates the subject pleasantly, for maximum detail.
If you don't have a flash handy, the OM-D E-M1 III offers extremely powerful image stabilisation that I haven't experienced before.
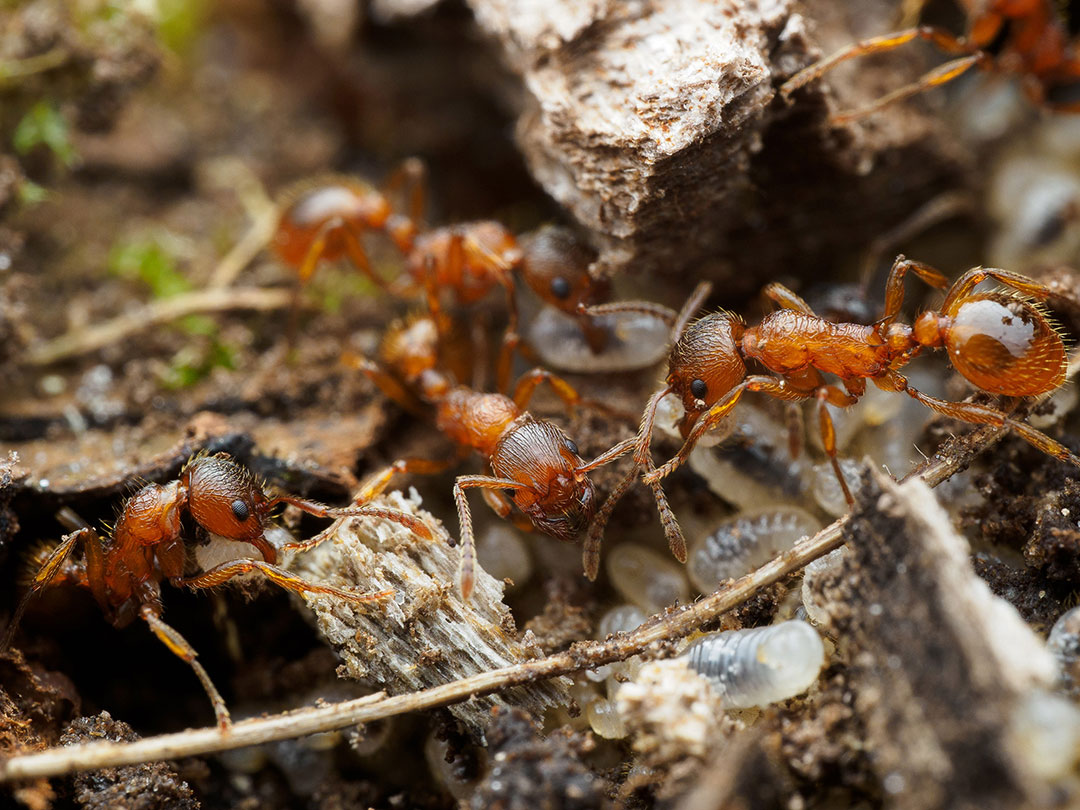
One request:
The most important rule for macro photography of living animals and plants is respect.
Please do not hurt or destroy animals or plants. Do not disturb them or cause them any stress.
An ethical approach prohibits the use of ice spray and damaging manipulation of subjects. Animals should not be permanently removed from their habitat; often they are tied to specific host plants, for example.
Patience, however, often pays off. If an animal is too active and there is simply no good opportunity for a shot, then that's just the way it is and you try your luck again next time or on the next motif.
Featured products:
About you


