Complete the form below to create your account

This will be your public name in the community
We need this to keep you informed about your account

Mandatory data.

Why you'll love MyOMSYSTEM

All members get access to exclusive benefits:

  • Member community
  • Register products
  • Extended warranty
  • Monthly newsletter

Winter Photography Tips: Capturing the Beauty of Winter

Glistening snow crystals, breath visible in the cold air, a landscape wrapped in a layer of cream-like snow—the winter is a beautiful season for photography, but also one of the most challenging. The weather can be unpredictable, places may be inaccessible, and classic summer motifs may not work anymore. With these winter photography tips, you can make the most of the snow and cold, capturing the "Spirit of Winter" in your photos.

  1. Preparation is Key

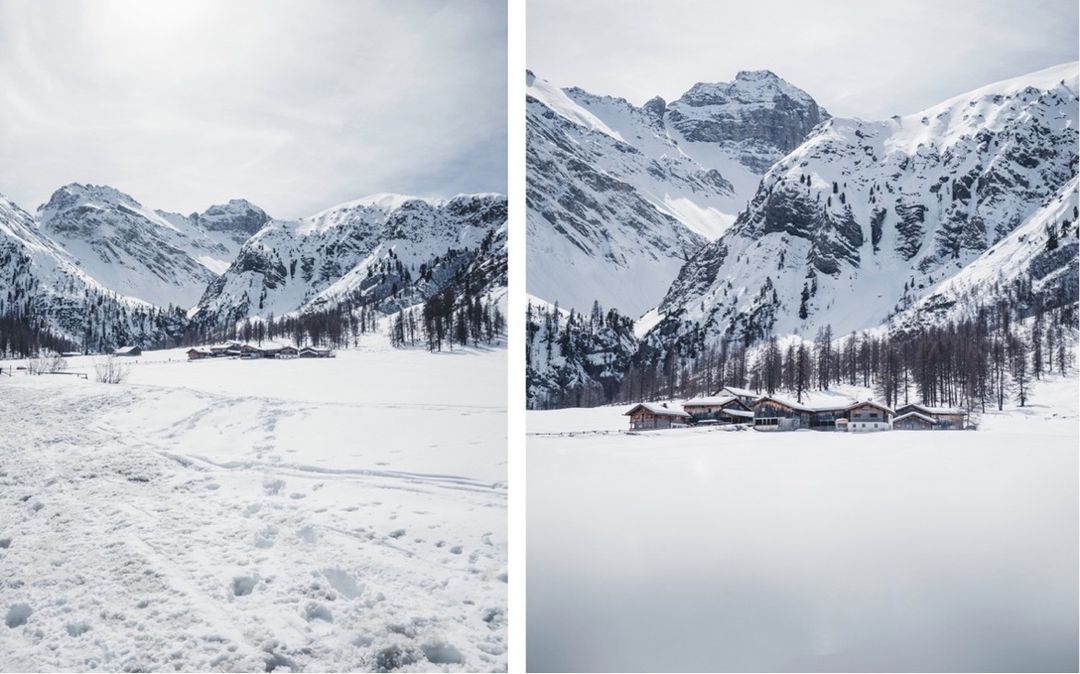
Thorough preparation is crucial for a successful winter photography session—perhaps even more so than in the summer. Before heading out, gather information about open paths and expected weather conditions. It's also a good idea to check webcams at the location you plan to visit. In alpine regions, there are snow maps that show fresh snow and current snow depth, such as [this one in Switzerland]. Keep in mind that south-facing slopes heat up much faster than north-facing slopes, causing snow to melt quickly. So, if you're looking for glistening crystals, search in areas that haven't been exposed to the sun for long.

OM-1 • M.Zuiko Digital ED 40-150mm F2.8 PRO • 40 mm • 1/2000 s • F2.8 • ISO 200

Clothing preparation is also important because photography often involves standing in one place for an extended period. Thick soles in your shoes, gaiters, thermal pants, and hot tea help keep you warm. If staying outdoors overnight, store your batteries and camera batteries close to your body to prevent them from losing energy. I also use mittens for my hands, with the option to expose my fingers—sometimes just one in very cold conditions. This way, I maintain full control of the camera while staying well protected.

OM-1 • M.Zuiko Digital ED 17mm F1.2 PRO • 17 mm • 1/160 s • F3.2 • ISO 200

  1. Stay on the Bright Side

Snow can quickly appear gray in photos if underexposed or even with normal exposure. While you can optimize this in post-production, it comes with a certain loss of quality—so why not expose it correctly from the start? I adjust my exposure compensation to +0.3 or +0.7 in aperture priority mode, depending on the situation. Since I've set up my camera to warn me about over- or underexposure in advance, I take no risks. In the camera settings under "Histogram Settings," I've set the overexposure warning to 245 and the backlight warning to 10. Additionally, the "Highlights & Shadows" info setting must be activated. This way, I can see before taking the shot whether I'm at risk of overexposure or underexposure and adjust accordingly. This ensures that the snow is beautifully white, the colors are accurate, and I save myself post-production work.

OM-1 • M.Zuiko Digital ED 40-150mm F2.8 PRO • 1/3200 s • F3.2 • ISO 200

  1. Use Technology for Creative Effects

A fast shutter speed is suitable for capturing moving objects in winter photography, but you can also use it to depict snowflakes as grainy. Conversely, a slow shutter speed creates a sense of movement, blurring the snowflakes in the image. This can be a creative effect that gives the photo a special atmosphere. You can also work with the aperture to either highlight snow crystals in the foreground or create a blur. I recommend experimenting a bit to intuitively know when the effect works best.

OM-1 • M.Zuiko Digital ED 12-40mm F2.8 PRO • 1/160 s • F2.8 • ISO 200

  1. Hide Me If You Can

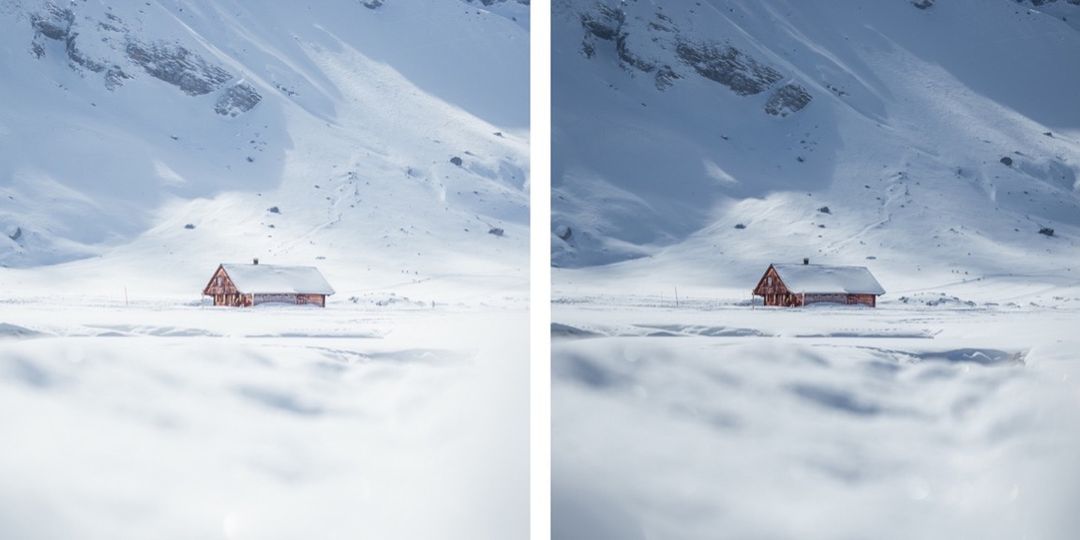
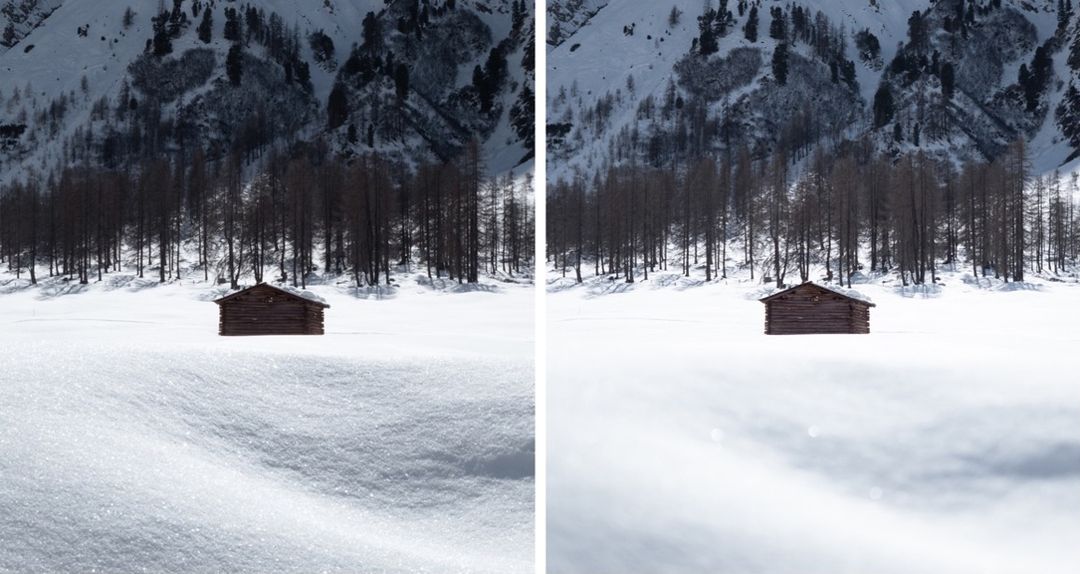
A classic technique in summer that works just as well in winter, if not better. When capturing pristine landscapes, footprints crisscrossing the otherwise untouched snow can be frustrating. The foreground can be a great tool to hide such unwanted elements in the image. It's worth squatting down and digging a hollow in the snow to hold the camera. This way, the snow is directly at the lens height, and footprints "disappear" easily—this effect works best with a large aperture (f1.2-f4.0). On the other hand, if you want to emphasize the crystals in the foreground, you need to play around with the aperture until you find the right mix of depth of field and grainy crystals.

OM-1 • M.Zuiko Digital ED 12-40mm F2.8 PRO • 1/640 s • F9.0 • ISO 200

  1. Challenge Yourself with New Perspectives & Get to Know Your Camera

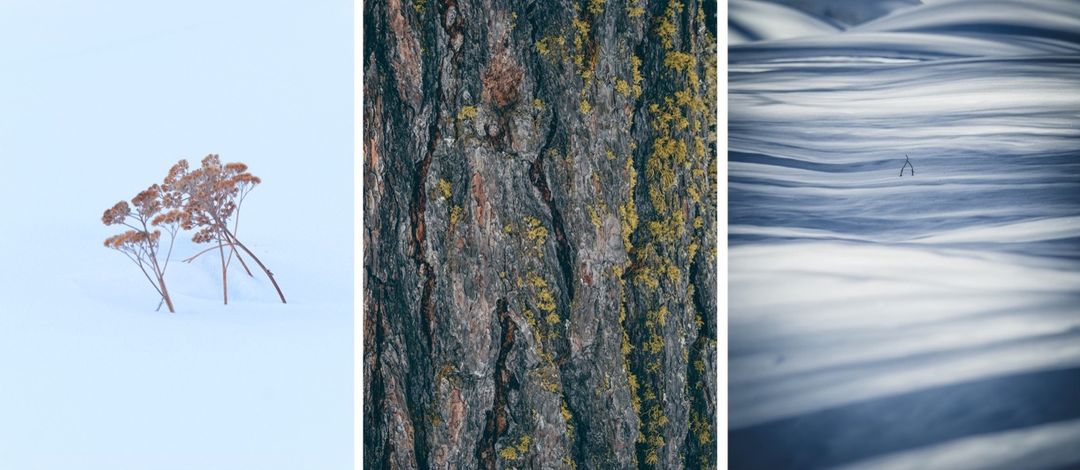
A wide-angle lens is great for capturing the beauty of the landscape, while a telephoto lens captures details that are far away. So far, so clear. But what if you aim your telephoto lens nearby, capturing textures in the snow or the bark of a tree in front of you? Or if you point the wide-angle lens nearby and consciously play with the distortion at the edge? Try different aperture settings for the same subject or test shutter speeds for flowing rivers.

OM-1 • M.Zuiko Digital ED 40-150mm F2.8 PRO • F4.0 • ISO 200 • MC-14

For example, do you know how the sun stars look with all your lenses or where the sweet spot is for sharpness? Try to break out of your regular routine, use different lenses, and regularly try new things. The good thing about digital photography—if you realize it didn't work out, you can simply delete it.

Featured products:

About the author

Related Tags

More from ‘Adventure Landscape’