OM-D E-M10 Quick Guide
Let's get started
1 - Exchange lenses
Learn about dials
6 - Setting mode
Control your camera
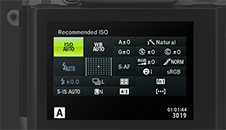
7 - Symbols in the EVD/LCD
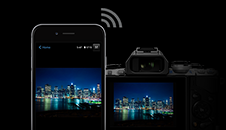
Connect with Wi-Fi
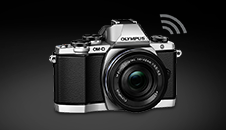
10 - How to set up Wi-Fi
-
Chapter 9: Menu options
The menus contain shooting and playback options that are not displayed by live control, and let you customise the camera settings for easier use.
-
-
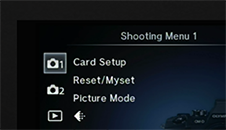
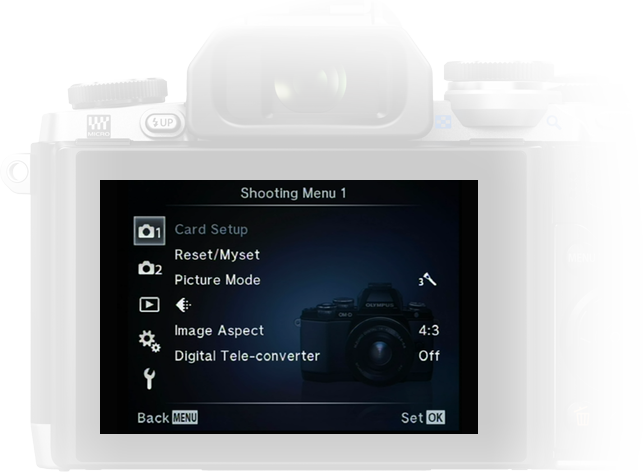
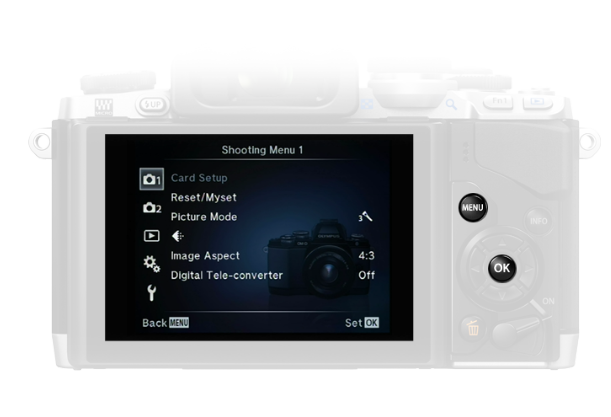
Shooting Menu 1
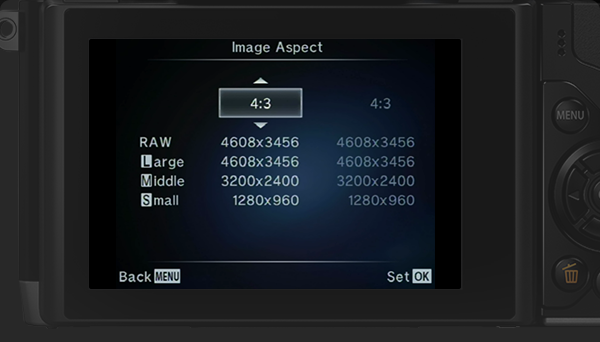
Press the Menu button to display the menus. Shooting menu 1 contains a range of options, including Card Setup, Reset/Myset, Image Aspect and Picture mode.
-
-
Shooting Menu 2
This menu includes key settings for Sequential Shooting, Bracketing, HDR, Multiple Exposure, Image Stabiliser, etc.
-

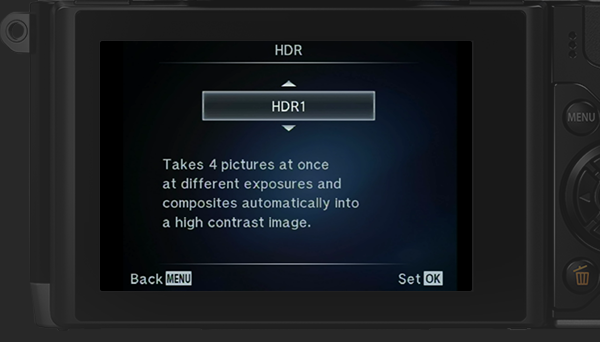
With HDR photography, the camera shoots several images and automatically combines them into an HDR image. You can also shoot several images and carry out HDR imaging on a computer. HDR1 and HDR2 are available in P, A and S modes. To avoid any movement of the camera when using HDR, it’s best to use a tripod for maximum results.
-
Playback Menu
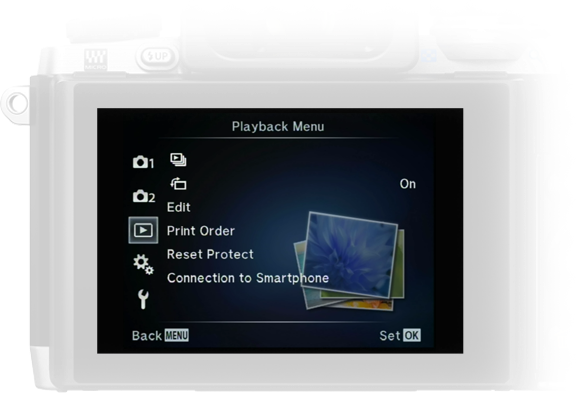
In the playback menu, you can view playback and image retouch options as well as print your images directly from your camera via a connected printer.
-
-
Custom Menu
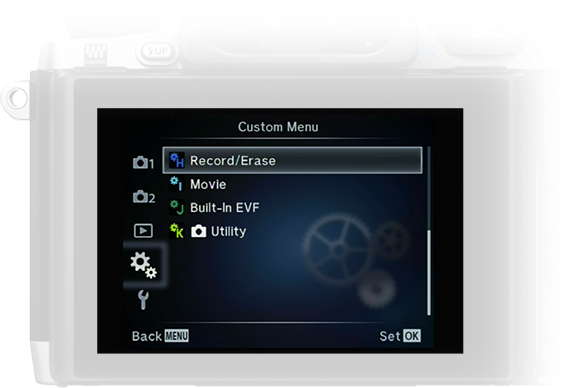
Customise your camera settings in this menu. A whole range of customising options are available, including setting individual focus methods, changing button and dial functions to suit your preferences, shutter release options, display options, custom flash settings, white base and many, many more.
-

-
1
-
2
-
Info button in menu
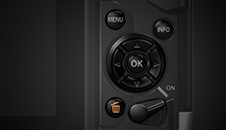
Learn more about the different settings by pressing the Info button for more information on-screen in the menus. Use the up and down and OK buttons to find out more.
-

Congratulations! You’ve finished chapter 9!
Table of contents
Let's get started
Learn about dials
Control your camera
Connect with Wi-Fi
Let's get started

1 - Exchange lenses
Learn about dials

6 - Setting mode
Control your camera

7 - Symbols in the EVD/LCD
Connect with Wi-Fi

10 - How to set up Wi-Fi
